
Path to function: Accounts > Create > Access account
An access account enables users to read your subscription content from a designated location, such as a library on campus, without needing personal logins. The location is identified by IP address. The account has a single set of login credentials, which can be shared with users at the point of need (e.g. posted beside a computer).
You create an access account using a four-step wizard.
Create an access account
-
Log in to the Compass admin area (https://admin.openathens.net).
-
(Optional.) To create the account under a specific sub-organisation, switch to the sub-organisation before you begin.
-
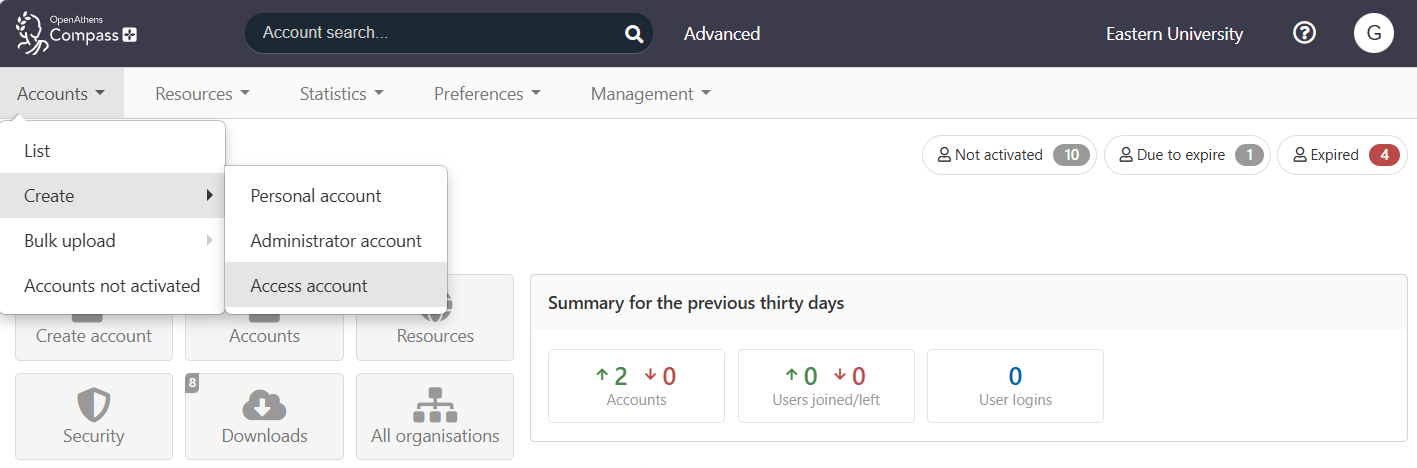
From the main menu, select Accounts > Create > Access account.
-
The account creation wizard opens in a pop-up window. There are four steps to complete. See the following sections for details.
Login tab
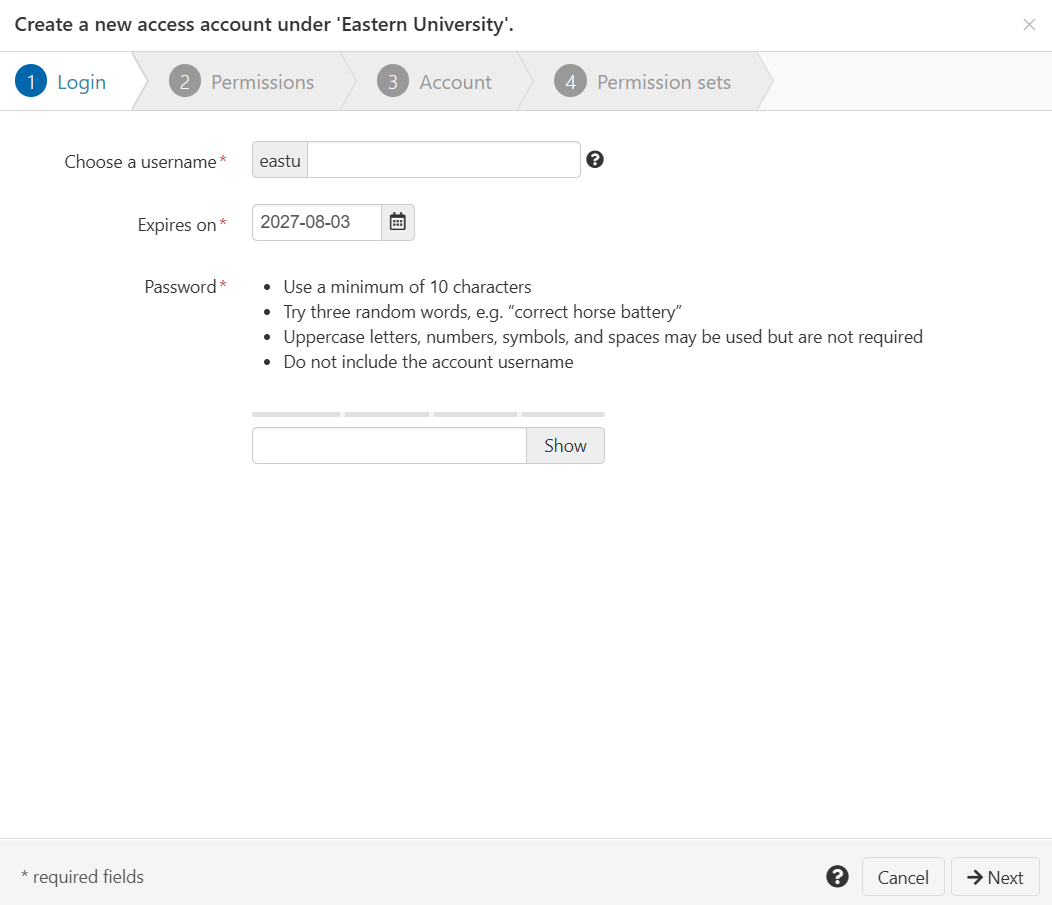
In the first section, complete login details for the account.
Since the details of an access account are shared among multiple people, and may be posted publicly (e.g. on a wall beside a computer), choose a username and password that are easy to read and type.
-
In Choose a username, enter a unique username for the access account. The name must be 6-20 characters long, including the domain prefix (which is already loaded into the field). It may contain letters, numbers, the dot (.), the hyphen (-) and the underscore (_), but must not contain special characters or spaces.
-
Set Expires on to the date on which the account should expire. This setting defaults to the expiry period set in your account preferences.
-
In the Password field, create a password for the account. Follow the on-screen guidelines.
-
Press Next to continue.
Permissions tab
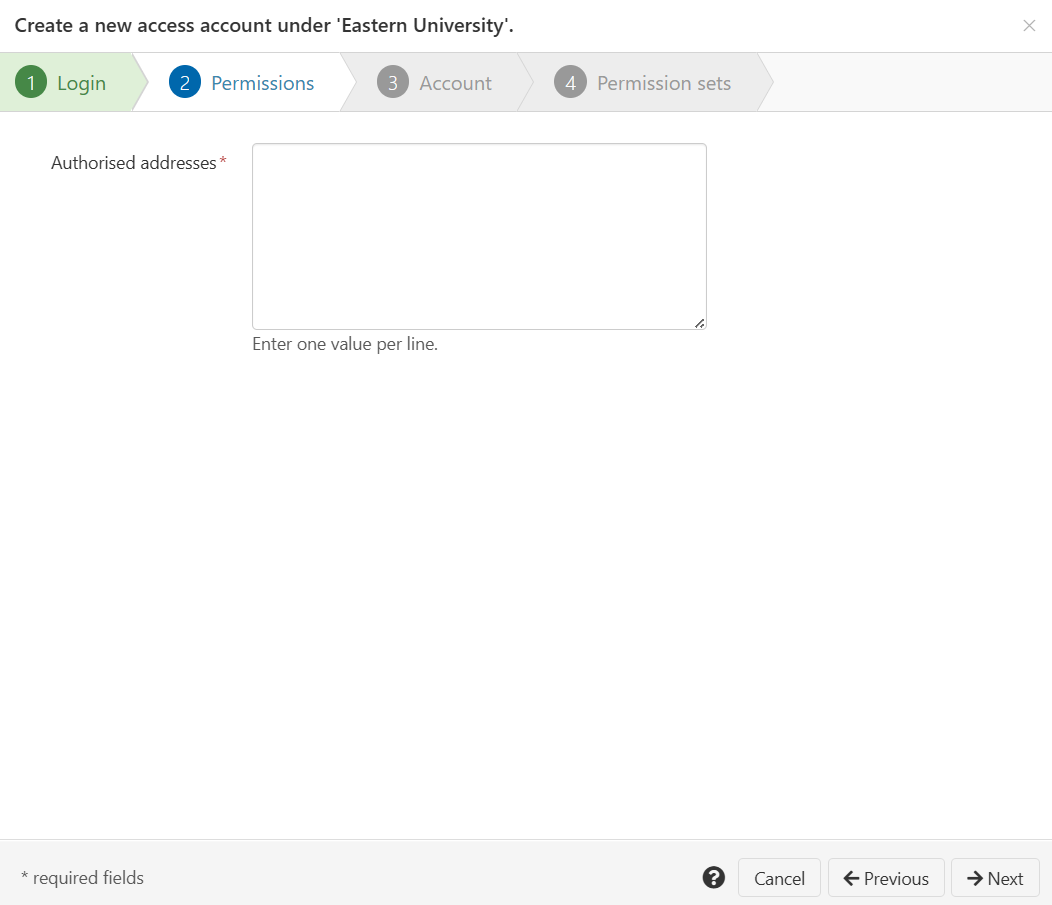
In this section, enter the IP addresses from which to permit access. People will be able to log in to OpenAthens from these addresses, using the username and password that you created. People who are outside the permitted IP addresses will be unable to log in with this account.
-
Enter the permitted IP addresses in the Authorised addresses field. To enter multiple addresses, enter each one on a new line.
To enter an IP range, you can include wildcards or hostnames.
Examples:
88.104.35-37.*
*.holbycity.nhs.net
121.12.*
100.95.12.22
-
Press Next to continue.
IP addresses must be external. Internal IP addresses (those beginning with 10. or 192.) will not work.
If you don’t know the required IP addresses, use an IP lookup tool online. The tool will tell you the IP address of the computer from which you access it.
Account tab
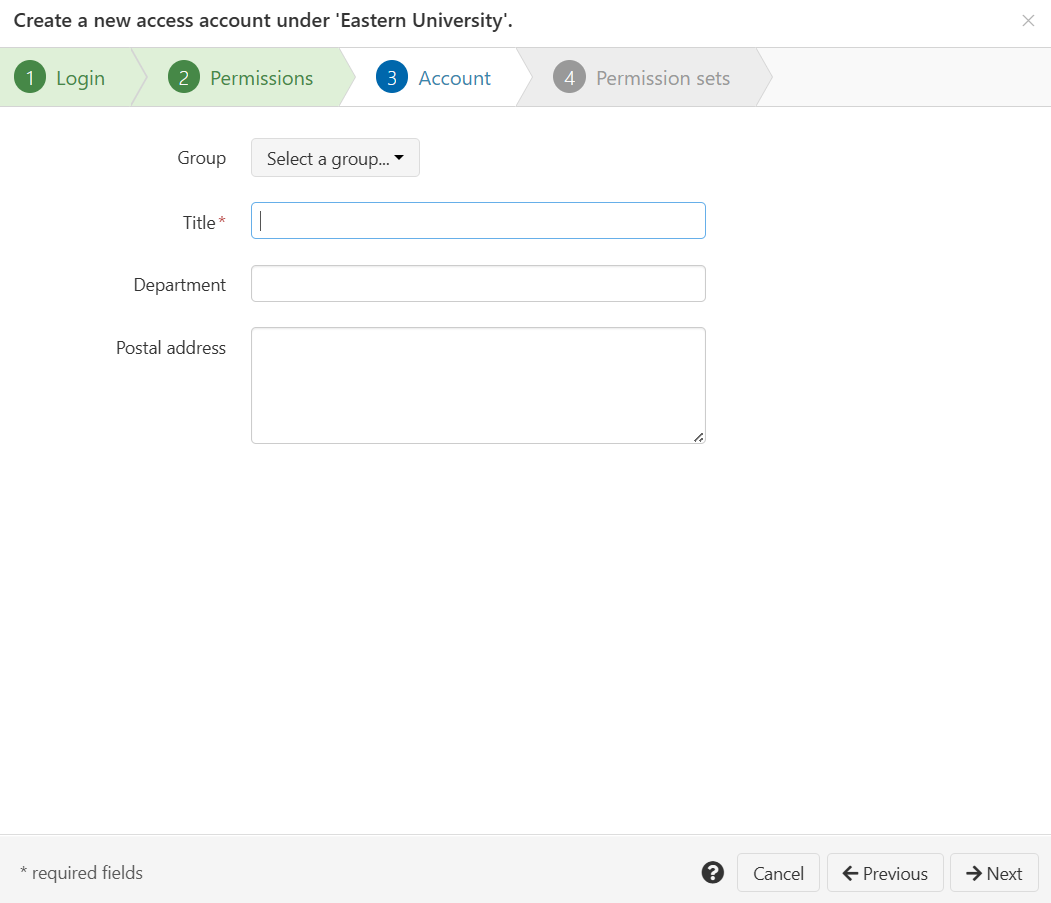
In this section, provide identifying information about the account. These details are useful if you have more than one access account.
-
(Optional.) If required, select the appropriate group from the Group drop-down list.
-
In the Title field, give the account a title. For example, ‘Library on north campus’.
-
Fill in other fields if relevant.
-
Press Next to continue.
Permission sets tab
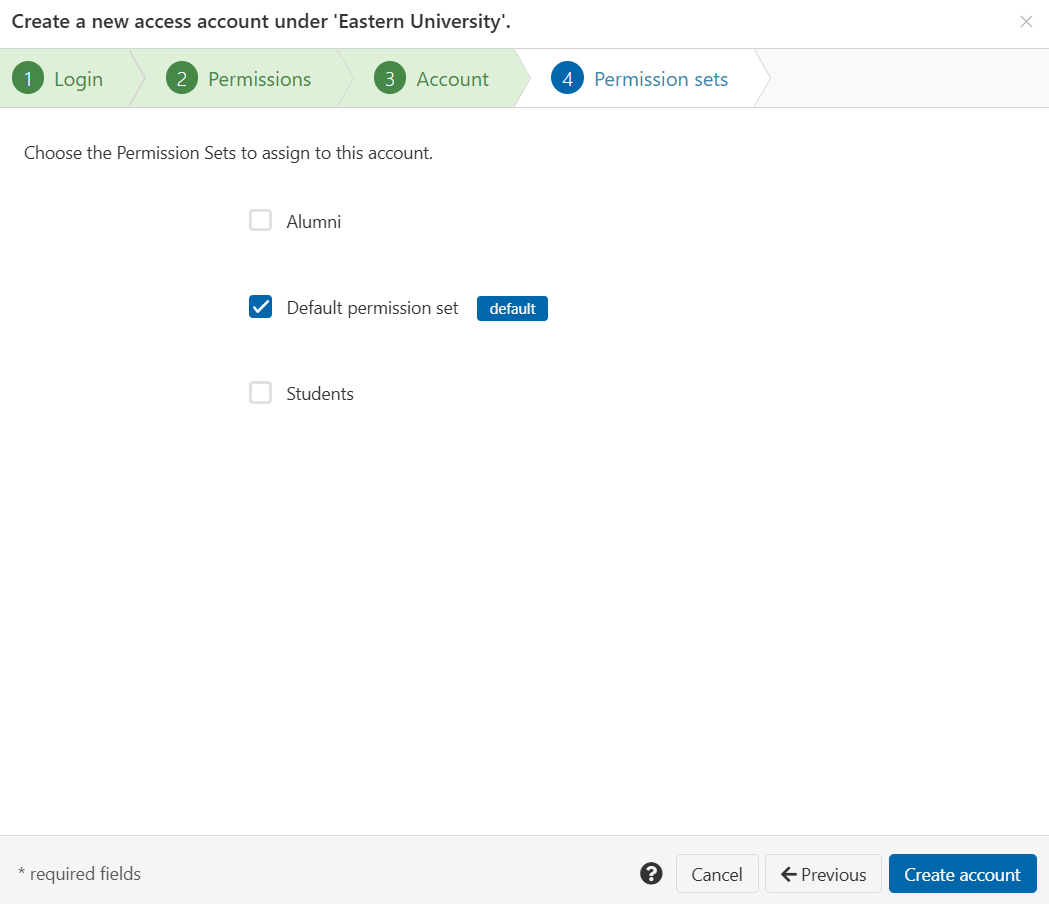
In this section, assign permission sets to the account. The default permission set is assigned unless you specify otherwise.
-
Tick or untick permission sets to create the right permissions for this account.
-
Press Create account to finish.
See also