Scheduling reports
Whilst the data explorer can quickly show you any report, you may have reports that you know you will need to view regularly, e.g. for monthly reporting. For these there is the scheduled report function.
Reports can be scheduled to run daily, weekly or monthly.
To create a scheduled report
From the data explorer:
Run a report that gives you the data you need
Click the schedule button

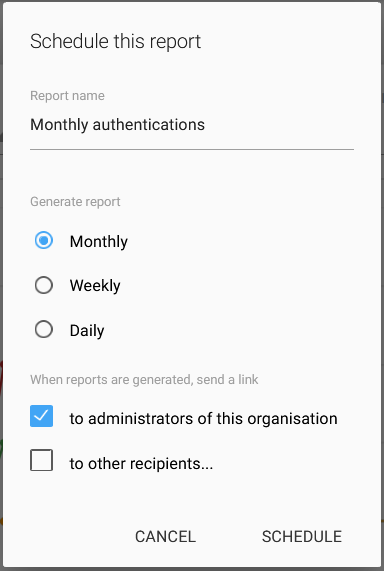
Give it a name, decide how often it will run and whether or not you want an email alert when it is ready. Monthly and weekly schedules are available on all reports, but some do not allow the daily option.

Click on schedule
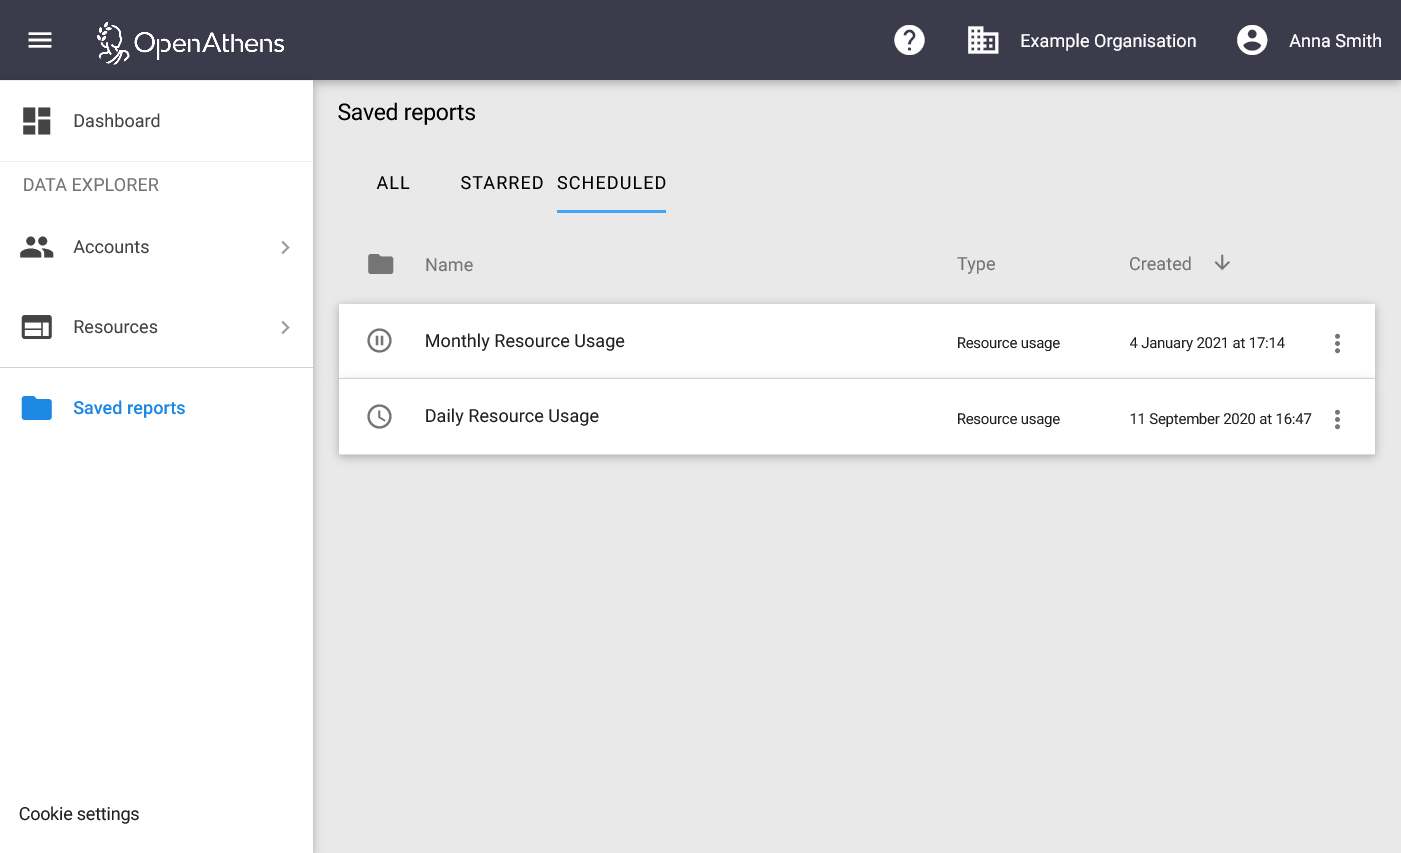
This will create an entry under saved reports marked with a clock icon.
Reports on a daily schedule will use an hourly granularity, the others will use daily.
To view a generated report
You can click on the link in the email if you chose to receive those, or:
Go to the saved reports section and find the report (this may be easier using the scheduled report view)
Click on the line - this will expand to show any generated reports that are there

To open the report: double click the line or select open from the dots menu
The report name will be the schedule name you chose plus the date it was generated. If you change the name of the schedule, old report names will not change.
To edit a scheduled report
Find the scheduled report you are interested in and select configure from the dots menu
Make your changes
Click schedule
Emailed report notifications
If you choose to have an email set to you or to others for a scheduled report, the email contains a link to the report rather than the report itself. What you need to know about these links is:
Links will be different for each recipient
Links will work for 30 days from when the report was generated
Links sent to addresses specified under 'to others' will display read-only versions of the report - recipients will not have access to any other part of the reports interface
