-
Access the service provider dashboard at https://sp.openathens.net.
-
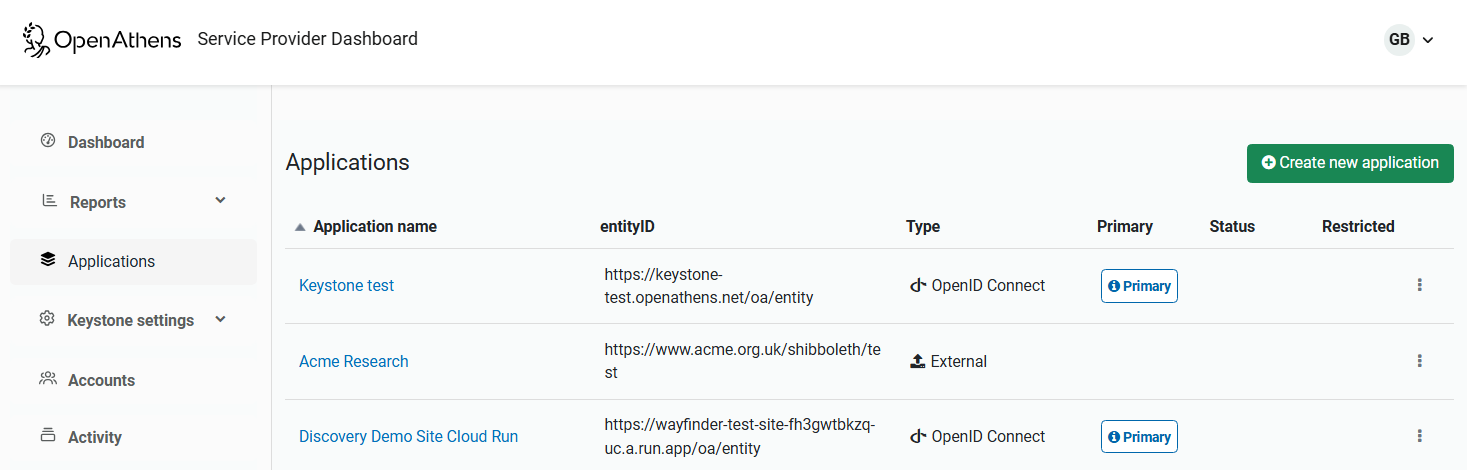
From the menu, go to Applications.
-
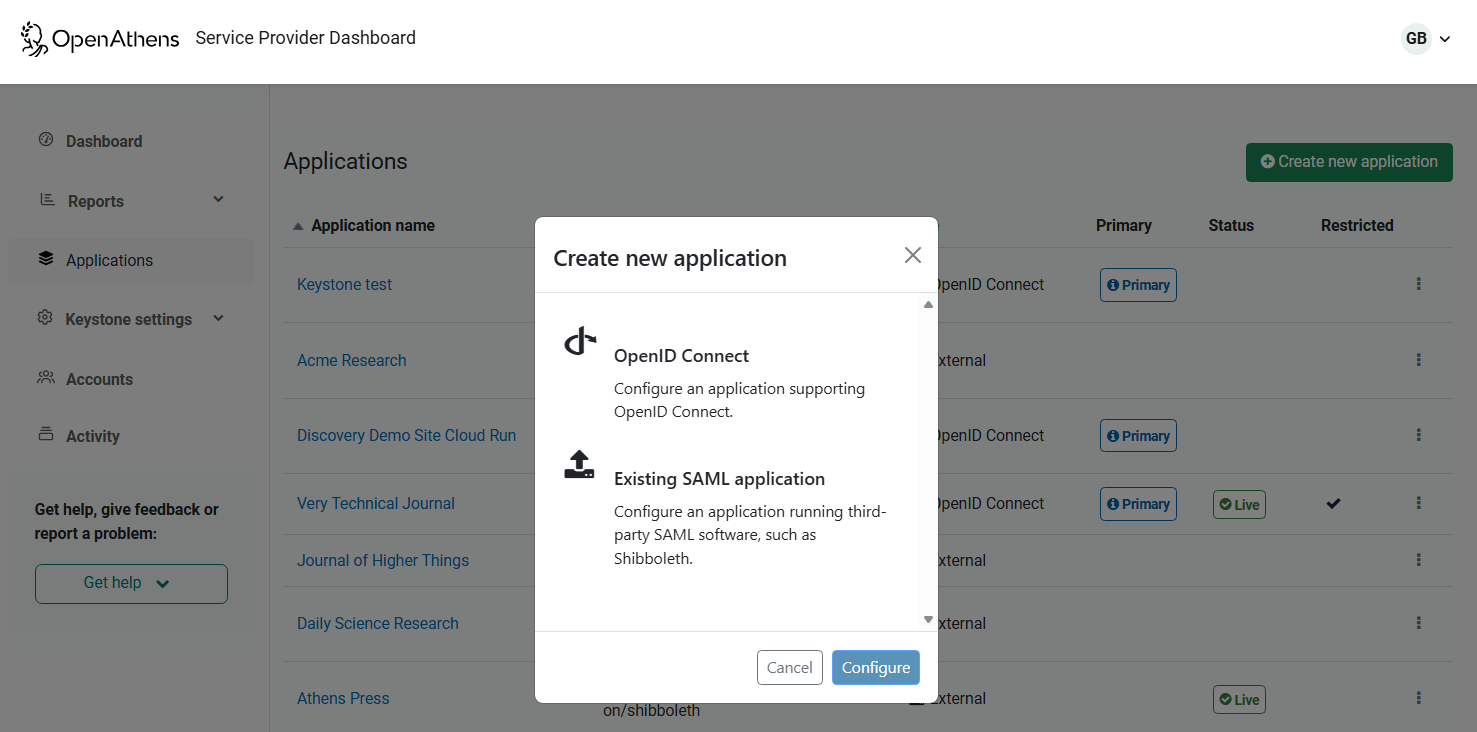
Press Create new application. A pop-up window opens, asking you to choose the type of application.
-
Choose OpenID Connect and press Configure.
-
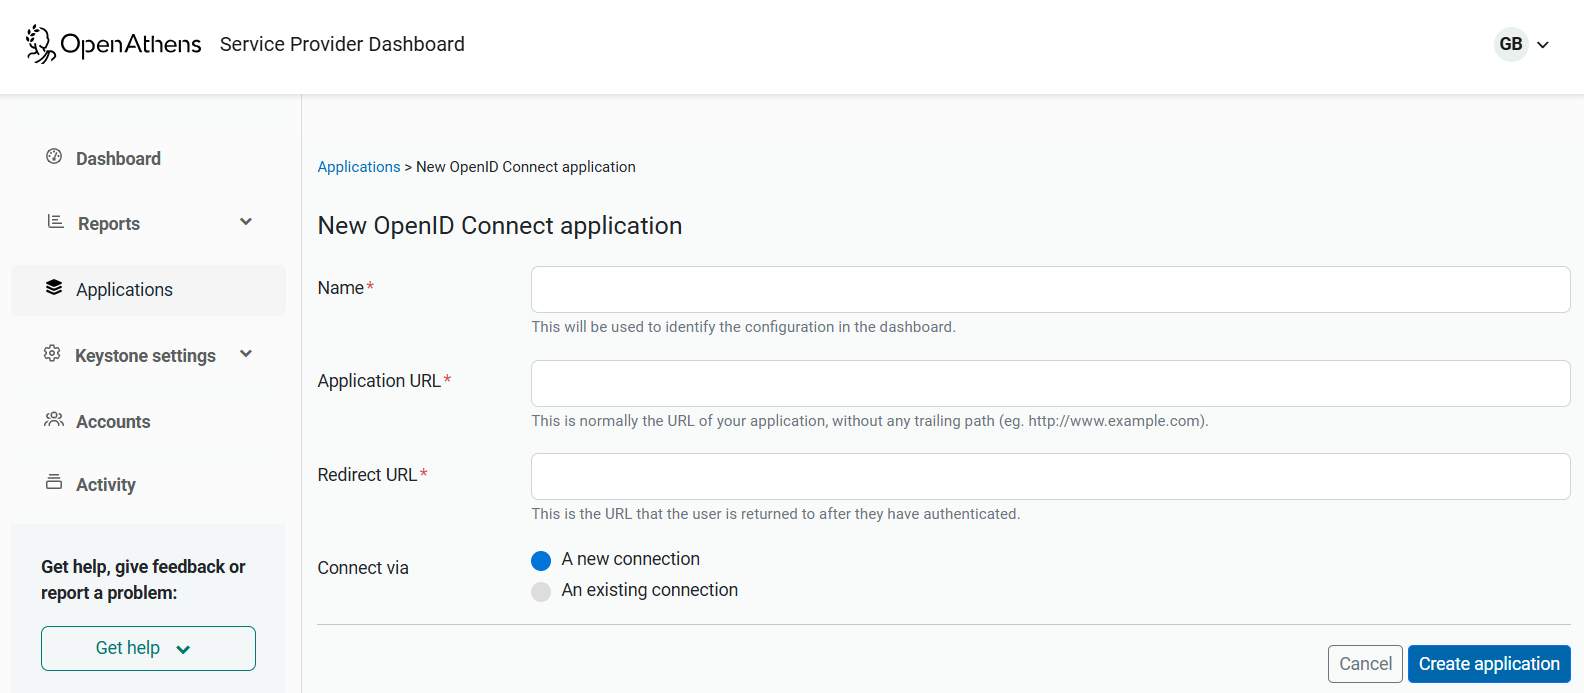
Fill in the form on the next page.
-
The following fields can be changed later if necessary, but must be valid to proceed.
-
Name - this will ultimately appear in-front of OpenAthens customers, but can be anything for now - there's a check on this when you publish things later
-
Application URL - the root address of the website where you are installing your OIDC software e.g. https://auth.yourdomain.com
-
Redirect URL - this is where your OIDC software is expecting the user to be returned after authentication. /redirect is often used but is not universal. If you're not sure, or if your OIDC software's documentation doesn't say what it should be, you can leave it as is and update it later (if it's wrong the first test you run will fail at the address you should be using)
-
-
Select a new connection unless you are setting up to migrate from one OIDC application to another.
-
Click the Create application button.
-
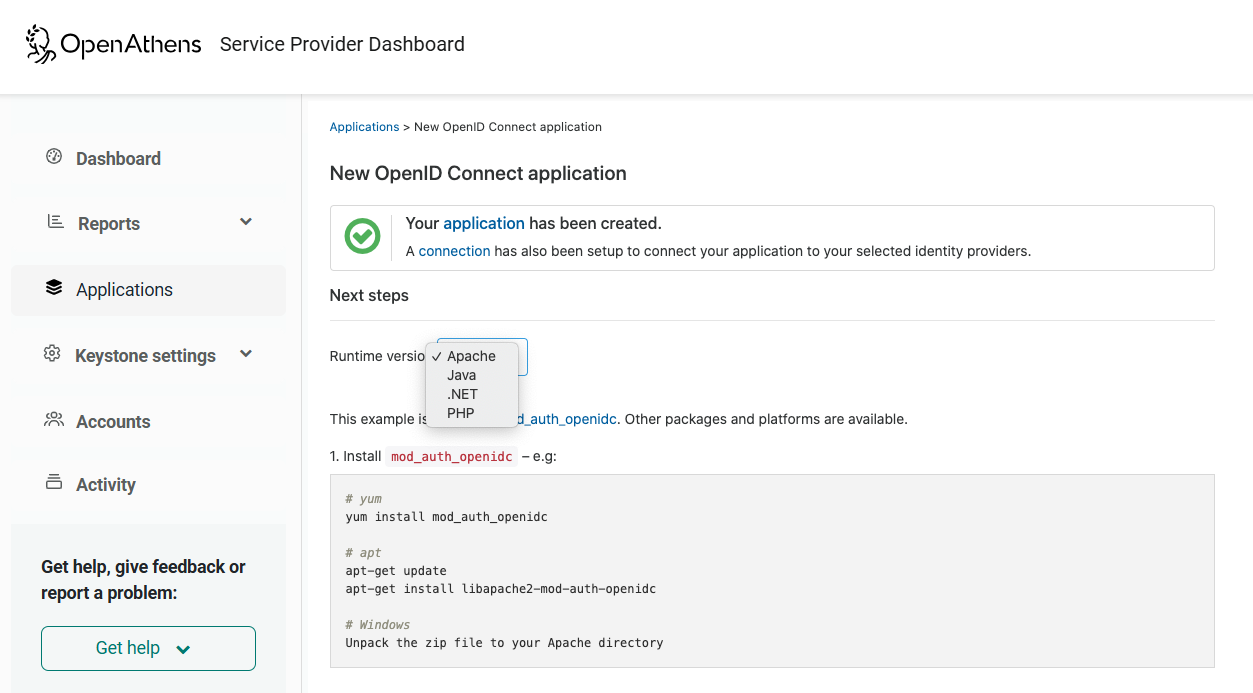
This will create the record and display the details you need to configure your OIDC plugin.
Return to main integration page