ADFS step by step
If you have never configured a relying party trust before in ADFS, the interface can seem a strange and mysterious place. Here is a step by step guide to help you if this is your first time. Screenshots are from a version without decoration, so don't worry if the dialog boxes on yours are a different colour.
In current versions of Windows Server you can install ADFS from the services menu (2012 onwards). If you're still using Windows Server 2008 in any flavour, do not turn on the ADFS service via the server manager, Microsoft's own recommendation is to download and install version 2.
Log into your sever and launch the "AD FS Management" console
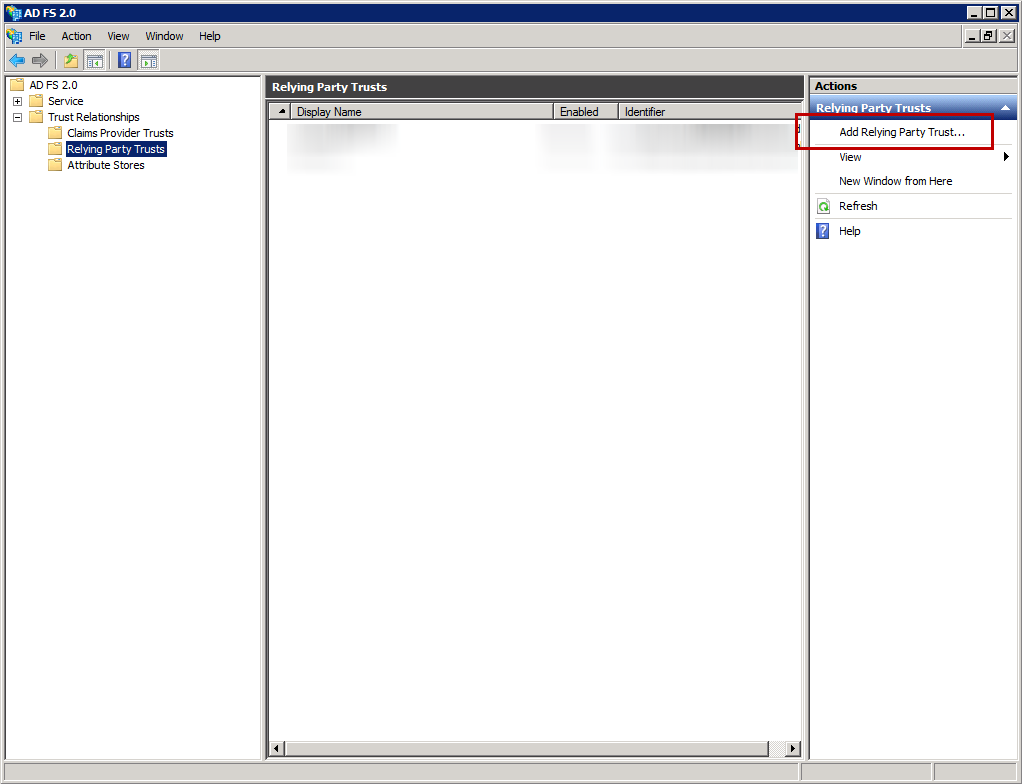
In the tree on the left, expand Trust Relationships and click on Relying Party Trusts
From the Actions menu or panel, select Add Relying Party Trust...
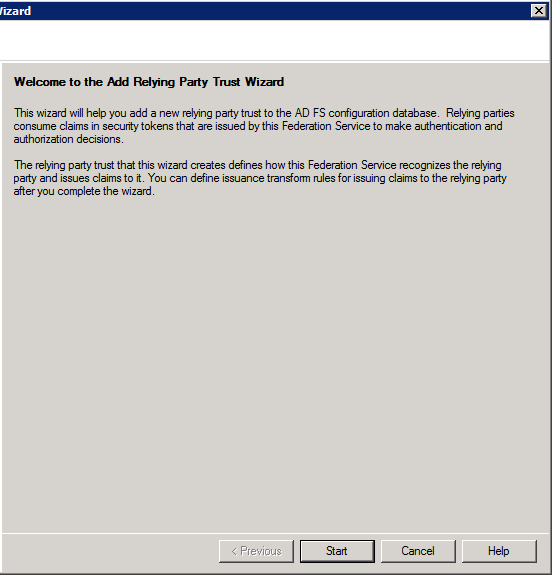
If the wizard asks about 'claims aware', say yes otherwise just click the next button on the first page of the wizard. If you're asked about multi-factor authentication it's best to leave that off for now to limit the things that can get in the way during the initial set-up (you can go back and turn it on later if you wish).
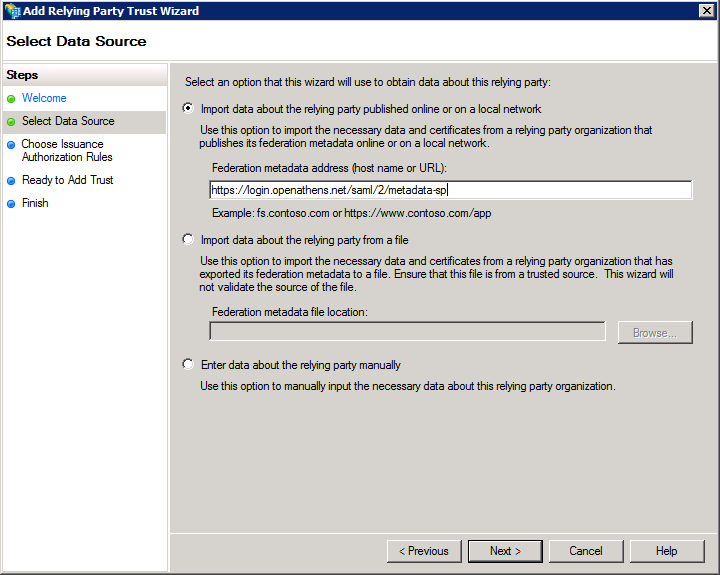
Import data using the metadata address of your OpenAthens connector (from the relying party tab) - e.g.
https://login.openathens.net/saml/2/metadata-sp/domain.com/la/123456If your server cannot connect directly, download the metadata from a location that can, copy the file over and use the upload option instead.
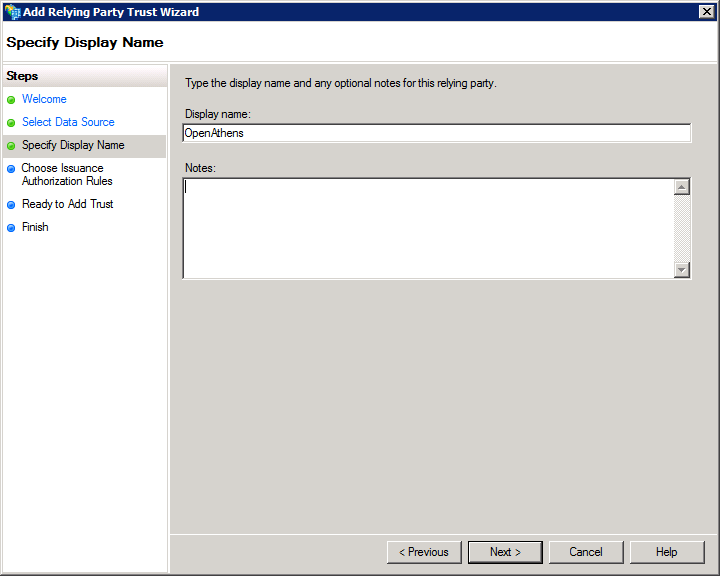
Click next through the rest of the wizard, giving it a name but otherwise accepting the defaults until you get to the last page. The defaults can be changed later if you do not want all users to be authorised to log into OpenAthens, or wish to use any additional features.
On the last page there is the option to go straight to editing claim rules. Leave that ticked and click finish.
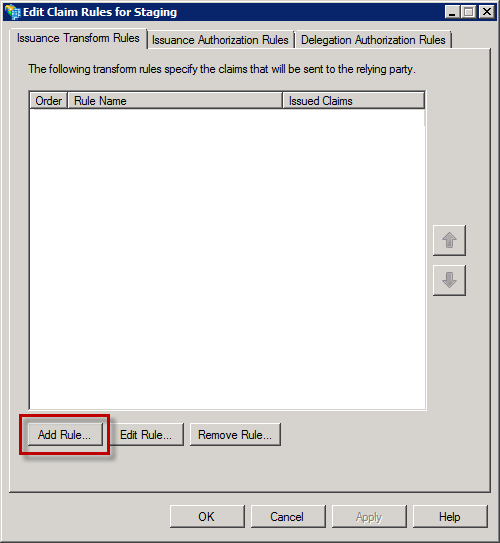
The Edit Claims Rules dialog box will open. Click Add Rule...
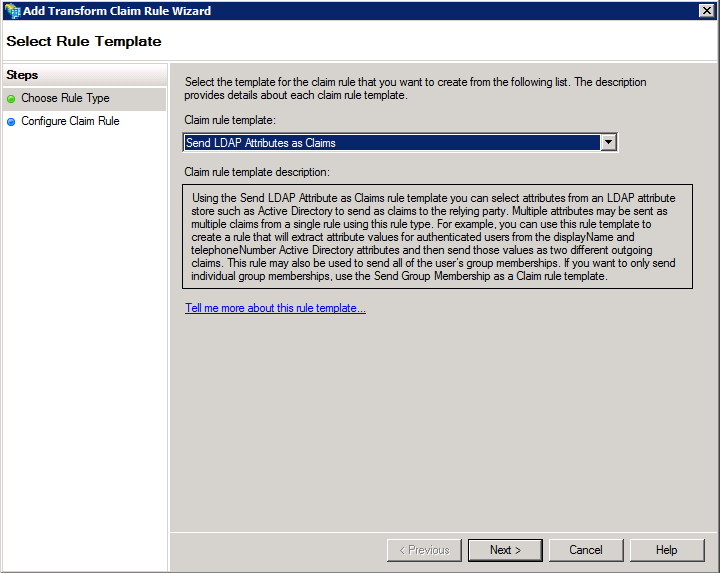
In the wizard, select Send LDAP Attributes as Claims and click Next
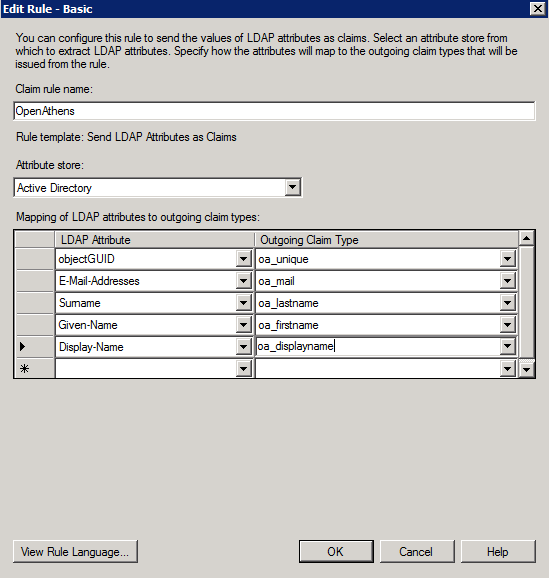
In the Edit rule box give it a name and select your attribute store, usually Active Directory
In the Mapping box, use the drop down to select the source LDAP attribute and next to in under Outgoing Claim Type, give it a name without spaces that will be unique such as oa_unique.
you will need at least one claim to be released to be used as the unique user identifier and one for the display name.
The claim for the user ID must be unique to the user for at least their time in your system and ideally will be unique to that user for all time.
objectSidandobjectGuidare good choices.The claim for the display name does not need to be different, but it would help if it were user readable. Display-Name is a popular choice.
the 'oa_' bit avoids any possible clashes with names that ADFS thinks are special.
you can use the default names if you like, but these can be long and confusing - e.g. UPN is released as
http://schemas.xmlsoap.org/ws/2005/05/identity/claims/upnby default. You can see these in the ADFS interface under Service > Claim Descriptions.
Not every possible LDAP attribute is included in the drop down list. In such cases you would type in the source attribute name on the left instead of selecting it. If you're upgrading from Shibboleth you will often want to sendobjectSidas the unique identifier as that is what Shibboleth defaulted to using. See also: objectSid and ADFSAdd any additional claims you will need for things like assigning permission sets, display names, user organisation, statistical groupings or passing attributes to service providers (the library will be able to tell you what these are).
Click Apply or OK
Return to the ADFS connector page to complete the set-up in OpenAthens.
Anything to watch out for?
On the older servers you may need to restart IIS if this is the first time ADFS set-up. ADFS 3 and above do not need IIS to be enabled
If you are planning to connect ADFS V2.0 to more than one OpenAthens domain you may need to apply Update Rollup 3: https://support.microsoft.com/en-gb/help/2790338/description-of-update-rollup-3-for-active-directory-federation-service.