
Path to function: Preferences > Email
Various events trigger an email to your users, such as their account being created or the account nearing its expiry date. These emails use templates which you can customise. If you have sub-organisations, you can configure different templates for the parent organisation and sub-organisations.
Available templates
-
Account created (activation): Sent to a new user when their account is created (individually or through bulk upload) without a password having been specified. The email prompts the user to activate their account. An administrator can also manually resend this email if a user still needs to activate.
-
Account moved: Sent when a user is moved into a different sub-organisation (or from a sub-organisation into the parent organisation), potentially changing the resources that they can access.
-
Account expiring: Sent when a user’s account approaches a scheduled expiry date.
-
Account created (password): Sent to a new user if their account is created through bulk upload with a password already specified.
-
Admin account activation: Sent to a new administrator user when their account is created.
-
Password change confirmation: Sent to a user if their password is changed.
-
Reset password: Sent to a user who has requested to reset a forgotten password.
The following guidelines use the account created (activation) template as reference, but all templates work in the same way.
Edit a template
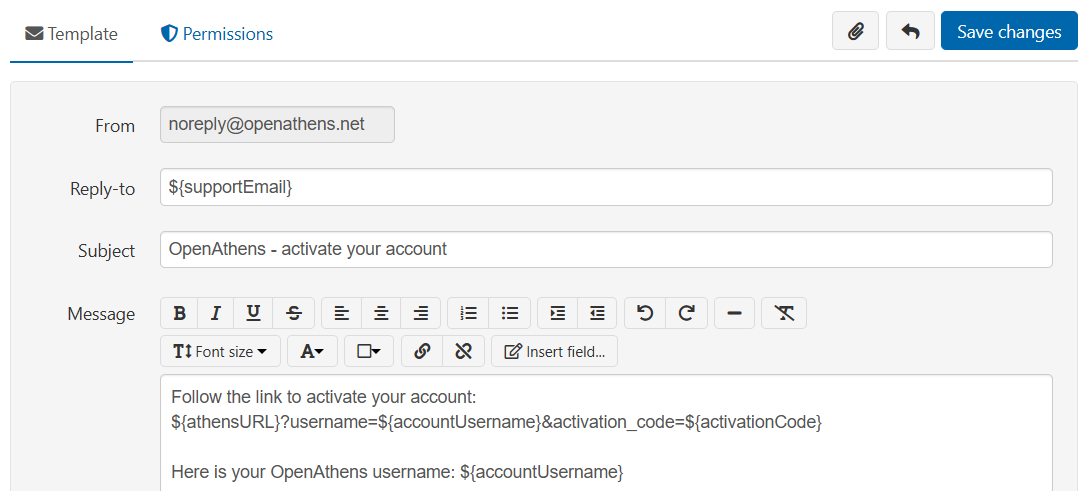
Each template comes with default text. This can be a good starting point for editing, as the default text includes variables for inserting information such as the recipient’s username and the link to activate their account.
-
Log in to OpenAthens Compass as an administrator.
-
(Optional.) To configure a template for a specific sub-organisation, switch to the sub-organisation before you begin.
-
Go to Preferences > Email templates.
-
From the left sidebar, choose the template you want to edit.

-
Edit the reply address, subject line or body text of the email as required. You can add formatting and links by using the built-in toolbar.
To insert personalised or changeable information (such as the name of the recipient), press the Insert field button. See Insert data fields for detail. -
Press Save changes when finished.
A revert button becomes available next to save when making changes, which will take you back to the default message if you need a fresh start. If you are a sub-administrator, this default may be one set by a higher level administrator.
Insert data fields
You can include information in the template such as the recipient’s username, the expiry date of their account or the name in the email signature. These data fields are displayed as placeholder variables. When the email is generated and sent, each variable is replaced with the appropriate value from the database.
See Email field codes for a complete list of the data fields available.
To insert a data field in the body text of the template, press the Insert field button while editing.

A pop-up window opens, allowing you to choose the required field from a list. Press Insert field to confirm your selection.
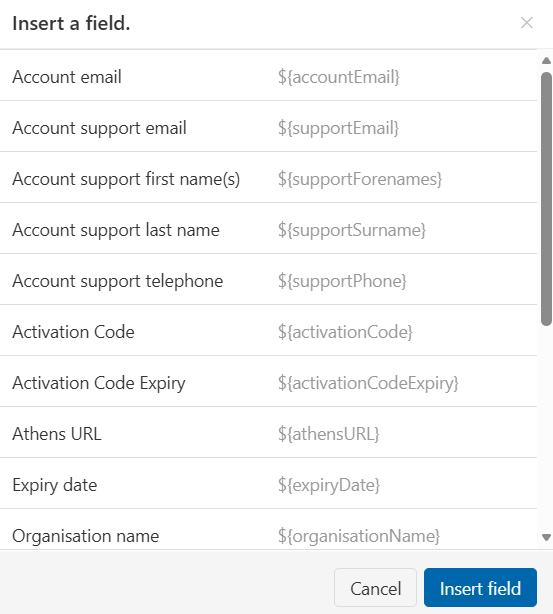
You can also insert data fields manually by entering a field’s code (e.g. ${accountUsername}). Using this method, you can dynamically change the Subject field of the email as well as the body text. See Email field codes for the available field codes and their descriptions.
Add attachments
Once you save changes to a template, you have the option to add attachments to the email. This option is not available when the template is in its default state.
Attachments are limited to 2MB. Permitted file types include:
-
pdf
-
Word-processed documents (.doc, .docx, .odt)
-
Images (.jpg, .jpeg, .png, .bmp, .gif, .svg, .tif, .tiff, .ico)
-
Presentations (.ppt, .pptx, .odp)
-
Spreadsheets (.xls, .xlsxm, .ods)
-
Save the changes to your template. An

-
Press
-
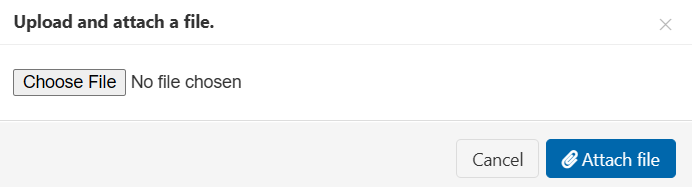
Press Choose File and select a file from your computer. The file must be no bigger than 2MB.
-
Press Attach file. The dialog closes and your attached file is shown in the template.
-
To attach more files, repeat steps 2-4.
-
Save your changes.
Attachments are virus checked on upload. However, virus scanning cannot be perfect and we recommend performing your own checks. Liability remains with the uploader.
Remove an attachment
-
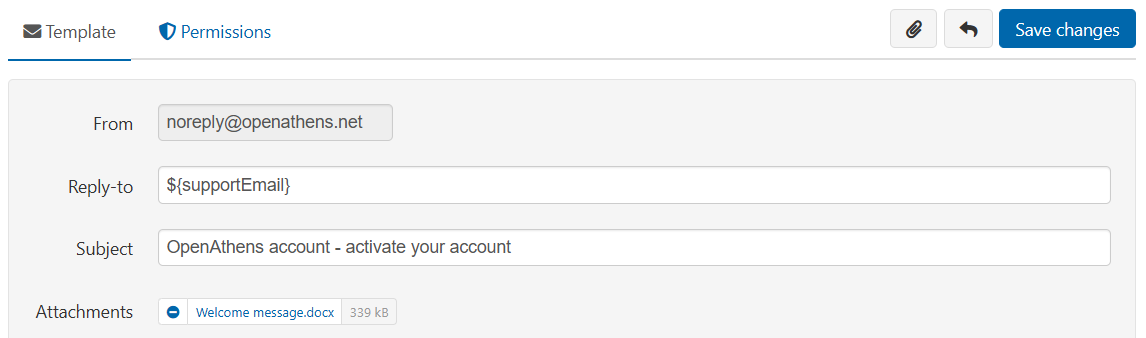
Open the template you want to edit. Current attachments are shown in the section Attachments.
-
Press the

-
Save your changes.
Set the scope of a template
If you have sub-organisations, a customised email template can apply to:
-
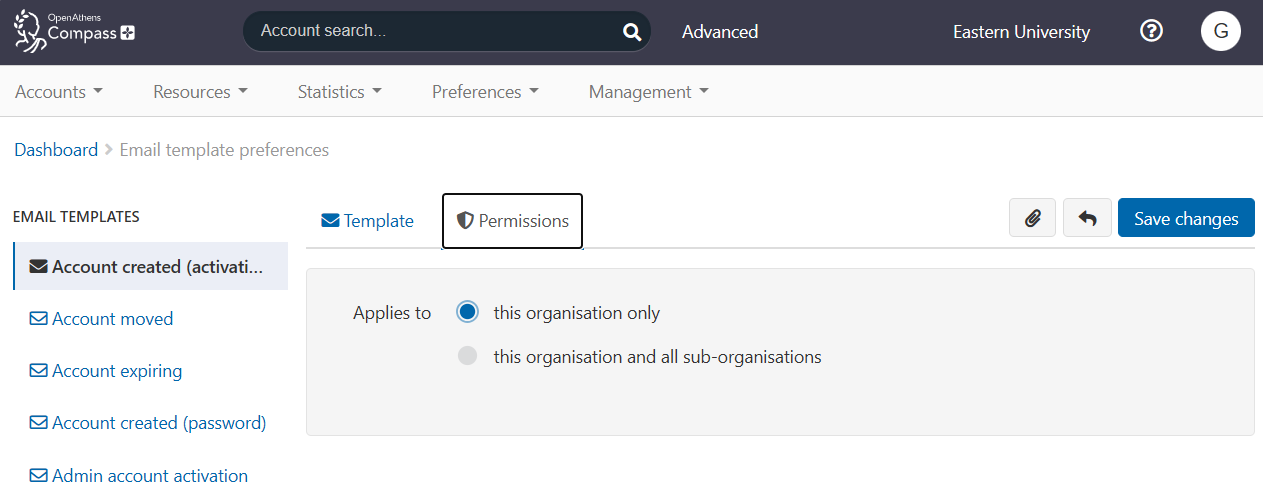
The current organisation only. If you customise a template for the parent organisation, the template applies only to that organisation. Any sub-organisations that don’t have their own customised template will use the default template. (This is the default setting)
-
The current organisation and its sub-organisations. If you customise a template for a parent organisation, sub-organisations that don’t have their own customised template will inherit the parent’s template
In both cases, if a template is customised specifically for a sub-organisation, the sub-organisation’s own template takes precedence.
-
Open the template whose scope you want to change.
-
Go to the Permissions tab. (This tab appears only if the template has been customised.)
-
Set Applies to to either this organisation only or this organisation and all sub-organisations.
-
Press Save changes.
Revert changes to a template
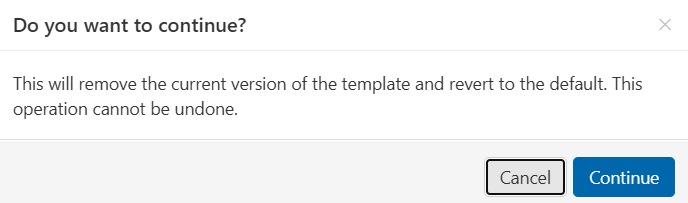
You can remove customizations from a template. This will usually restore a template to its default state. If the template is in a sub-organisation that inherits templates from its parent, reverting customisation at the sub level will leave the sub-organisation with the parent template.
-
Open the template you want to revert.
-
Press the

-
Press Continue. The template reverts to its default state. Any sub-organisations that inherit this template will also revert to the default.
Anything to watch out for?
-
If you draft your email text in word-processing software, avoid copying and pasting it directly into the template. Word processors can add hidden formatting that affects display of the final email.
For simplicity, we recommend composing your text in the template editor. If you do use a word processor, either:-
Copy and paste your text into the template. Select all of the text and press the Remove formatting button. Recreate any required formatting using the toolbar

-
First paste your text into a plain text editor such as Notepad, then copy it from there and paste it into the template. Recreate any required formatting using the toolbar
-
-
If you format a URL (such as the link to activate an account), ensure that the formatting covers the whole of the URL
-
The reply-to field can contain only one address