
The add function does not capture every element necessary to be production ready, only enough to set up the basics so that developers can move the software side forward without delay. There will be further steps to take before your application is ready to go live for our mutual customers.
Create an OpenID Connect application
-
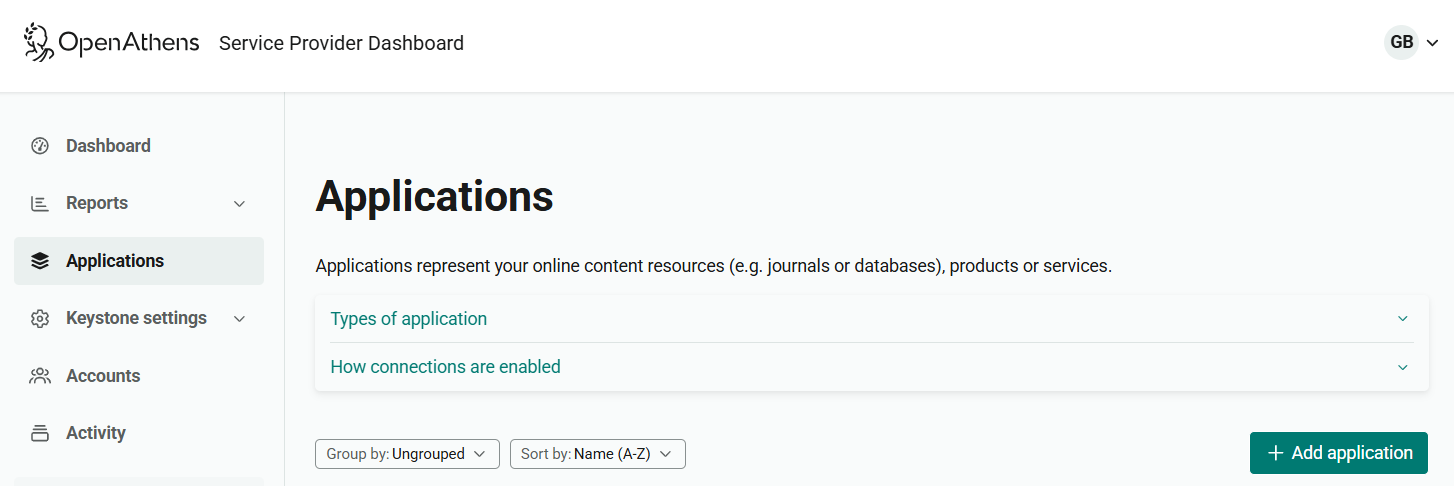
Log in to the service provider dashboard as an administrator and go to Applications.
-
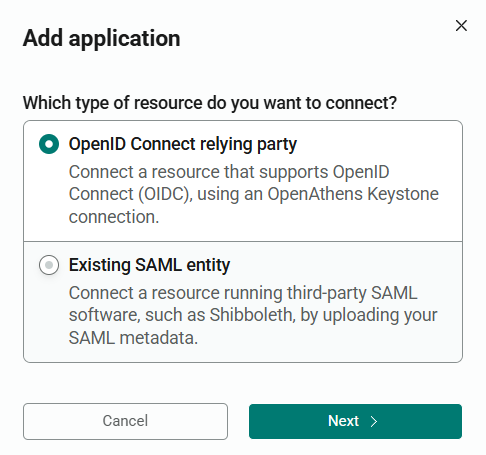
Press the Add application button. A pop-up window opens, asking you to choose the type of application.
-
Choose OpenID Connect relying party and click Next.
-
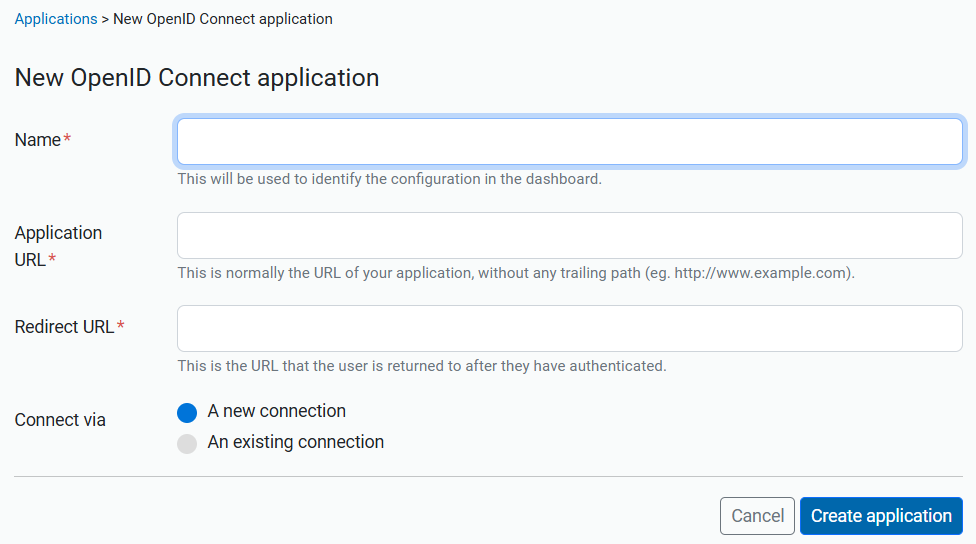
In the Name field, enter a name for your application. Eventually this will be customer facing, but for now it can be anything.
-
In Application URL, enter the root web address of the application. For example, https://login.yourdomain.com.
-
In Redirect URL, enter the address to which users will be returned after authentication. If you’re not yet sure of this, enter a placeholder for now and change it later.
-
Unless you are migrating from one OIDC application to another, set Connect via to A new connection. If you are migrating from an existing application, select An existing connection.
-
Click the Create application button. This creates the application record and a Keystone connection.
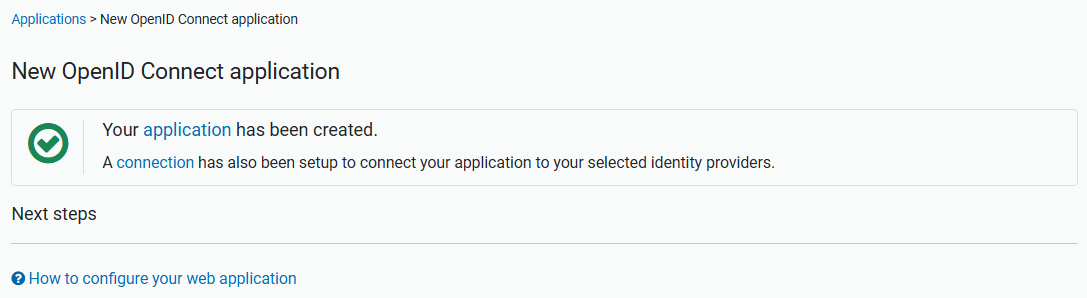
For further configuration settings, see Edit an application.
Create a SAML application
-
Log in to the service provider dashboard as an administrator and go to Applications.
-
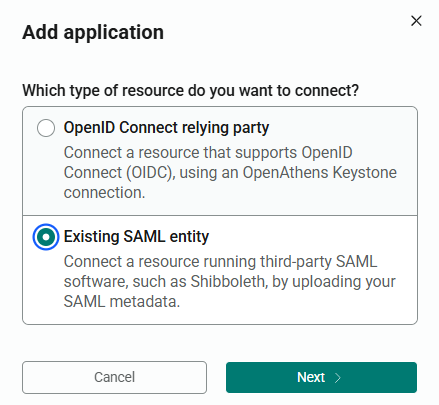
Press the Add application button. A pop-up window opens.
-
Choose Existing SAML entity and click Next.
-
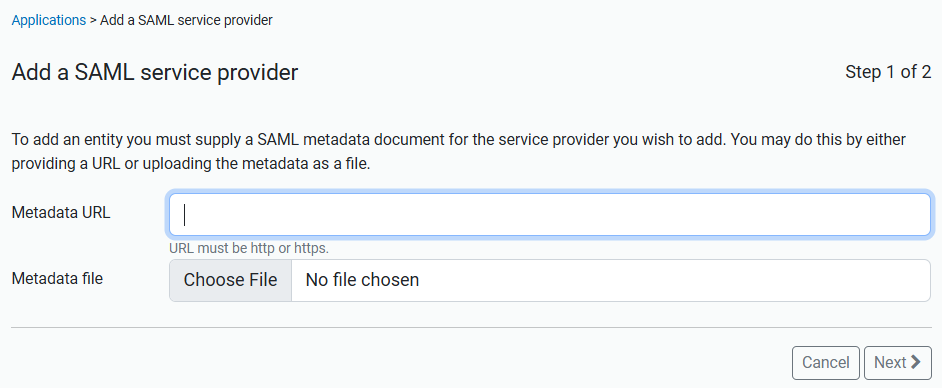
Either:
-
Enter the URL of your SAML entity’s metadata in the Metadata URL field, or
-
Press the Choose File button and upload an XML metadata file from your computer.
-
-
Press Next.
-
You will be shown the details of the provided metadata. Confirm that you want to use this metadata and then press Create application to finish.
-
This creates the application record. You will still need to add the OpenAthens Federation metadata to your SP.
For further configuration settings, see Edit an application.