
Path to function: Resources > Catalogue > Custom
Custom resources, once created, can be allocated to permission sets like any other resource. This page is about custom SAML resources rather than basic custom resources.
Custom SAML resources were developed for single sign-on to systems like your VLE, G Suite or Adobe Creative Cloud. They can also provide peer-to-peer access to SAML resources that lack enough subscribers to benefit from membership of a federation (which makes things much easier for all parties). In both situations, they should work for any SAML target that adheres to the SAML 2 core specification.
Because SAML requires a resource to have a unique identifier (entityID), custom resources can only be added at the domain level by users with the owner role. You will also need to supply the resource with your OpenAthens details. See How to access your login.openathens.net metadata.
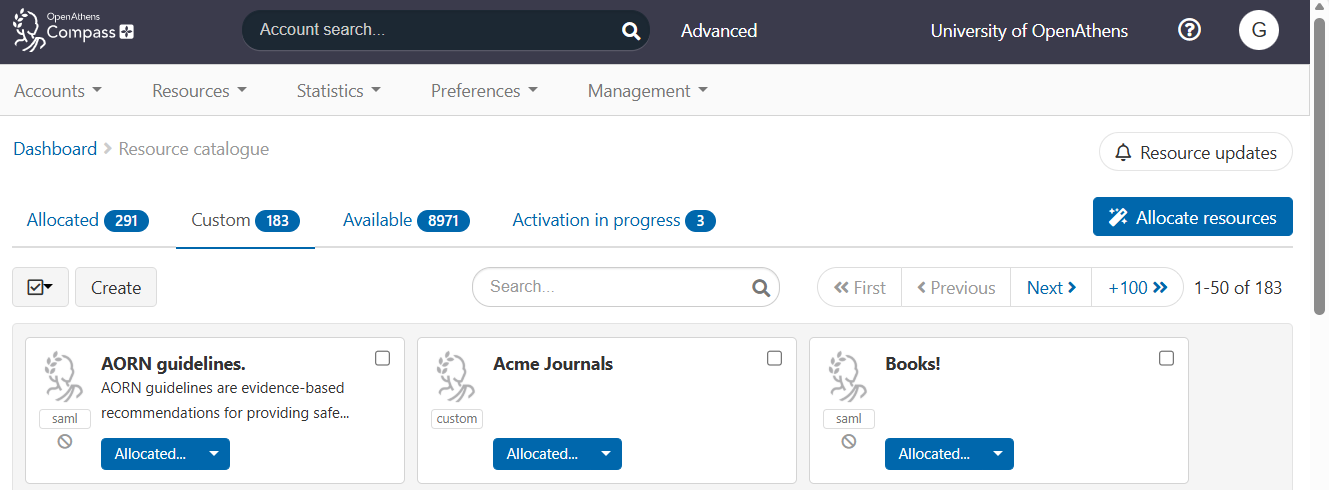
Custom SAML resources appear in the Custom tab of the resource catalogue and are identified by a 'SAML' tag.
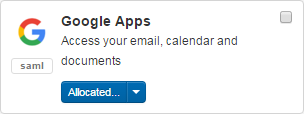
They appear in reports alongside regular and proxy resources.
Add a custom SAML resource
-
Log in to OpenAthens Compass as an administrator with the owner role.
-
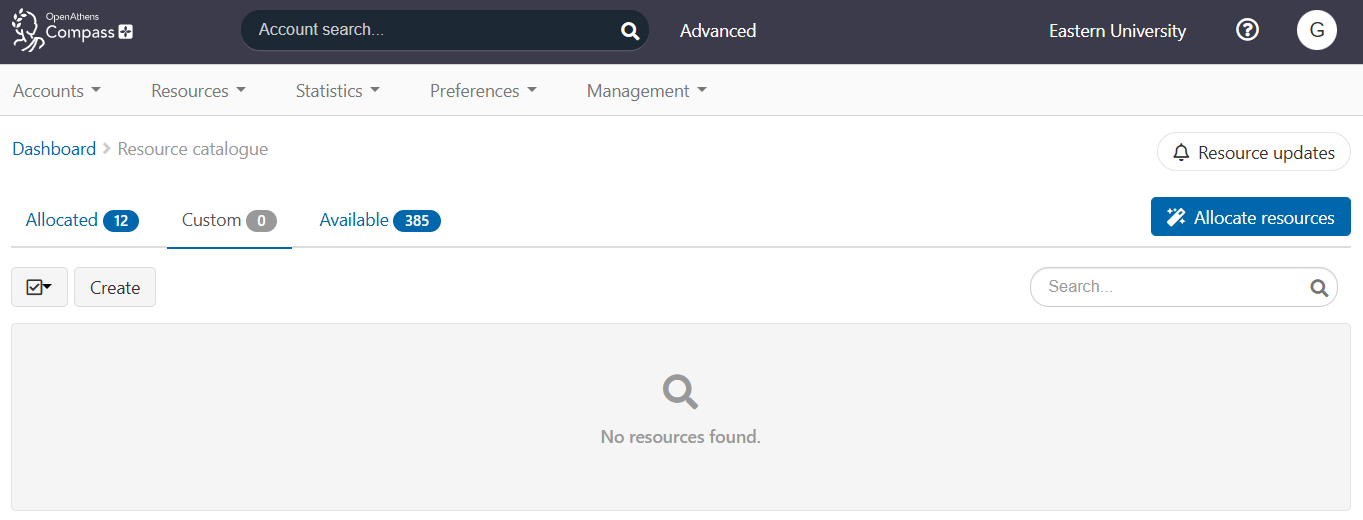
Go to Resources > Catalogue and select the Custom tab.
-
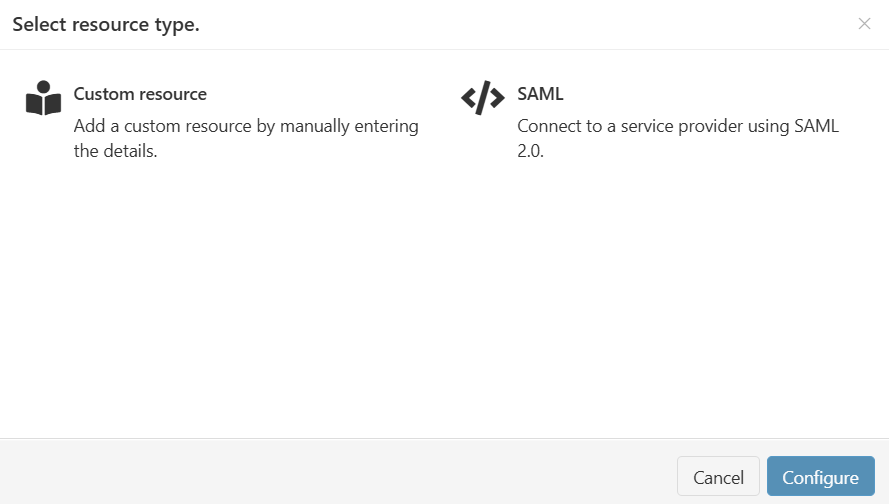
Press the Create button. A pop-up window opens.
-
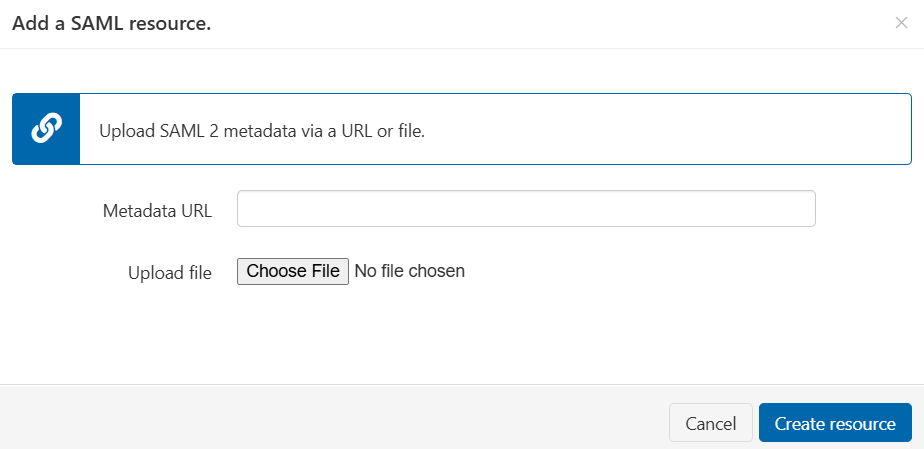
Select the SAML option and press Configure. You can then provide the details of the resource.
-
Either:
-
Enter the URL of the resource’s metadata in the Metadata URL field, or
-
Press Choose File and upload the metadata file from your computer. The file must be in .xml format.
-
-
Press Create resource. The new resource appears in your catalogue.
-
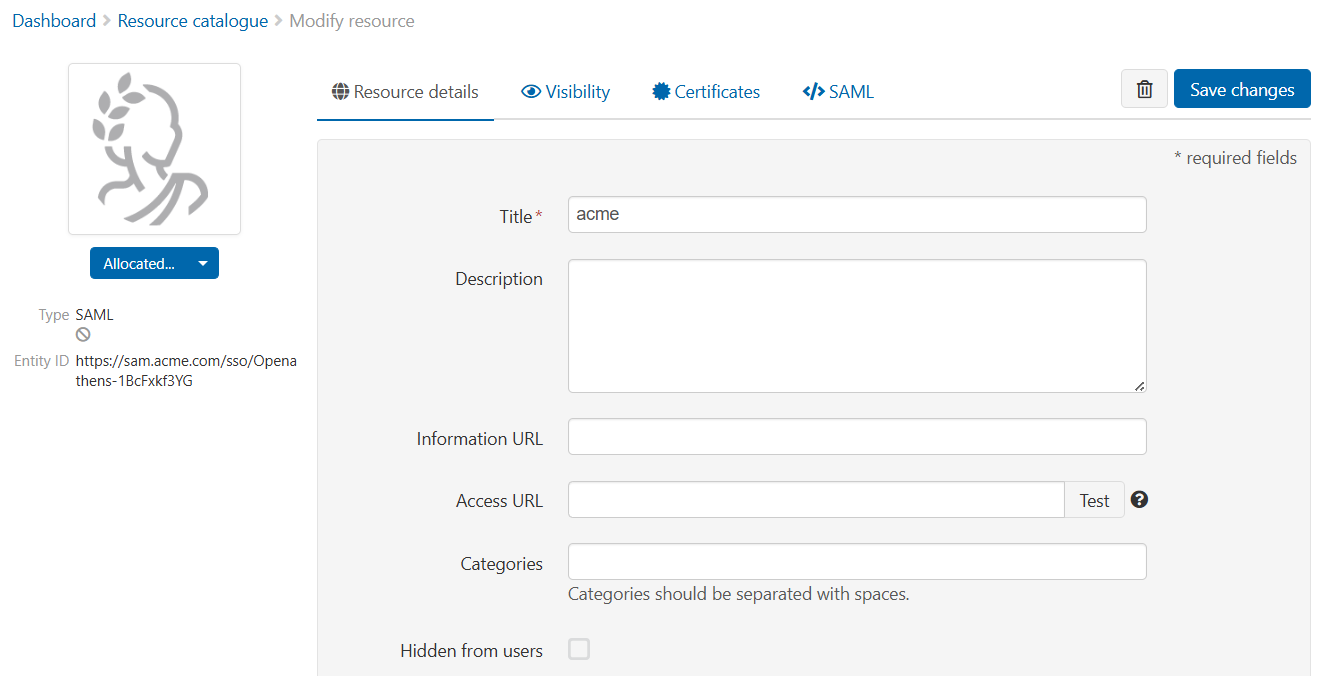
Open the resource to customise details such as its title (which, by default, is pulled from the entityID in the metadata), its description and its logo.
-
Save your changes.
You will almost always need to tell the other application about your own metadata or endpoints before it will work. Typically, you must add a custom release policy so that the target receives the attributes it is expecting. There are examples of setting up a custom release policy for Google Workspace and Adobe Creative Cloud.
After submitting, it can take a few minutes for the resource to go live.
SAML 1.x is not supported for this type of connection.
Manage an existing custom SAML resource
You can edit the title, description and other details of an existing resource, view certificate details and update the metadata. You might need to update the metadata if, for example, the resource changes its certificates or endpoints.
Update metadata only if necessary. Updating metadata will overwrite other custom settings.
If you delete and recreate a resource, you will need to reassign the resource to any permission sets that were previously allocated.
Delete a custom SAML resource
-
Go to Resources > Catalogue and select the Custom tab.
-
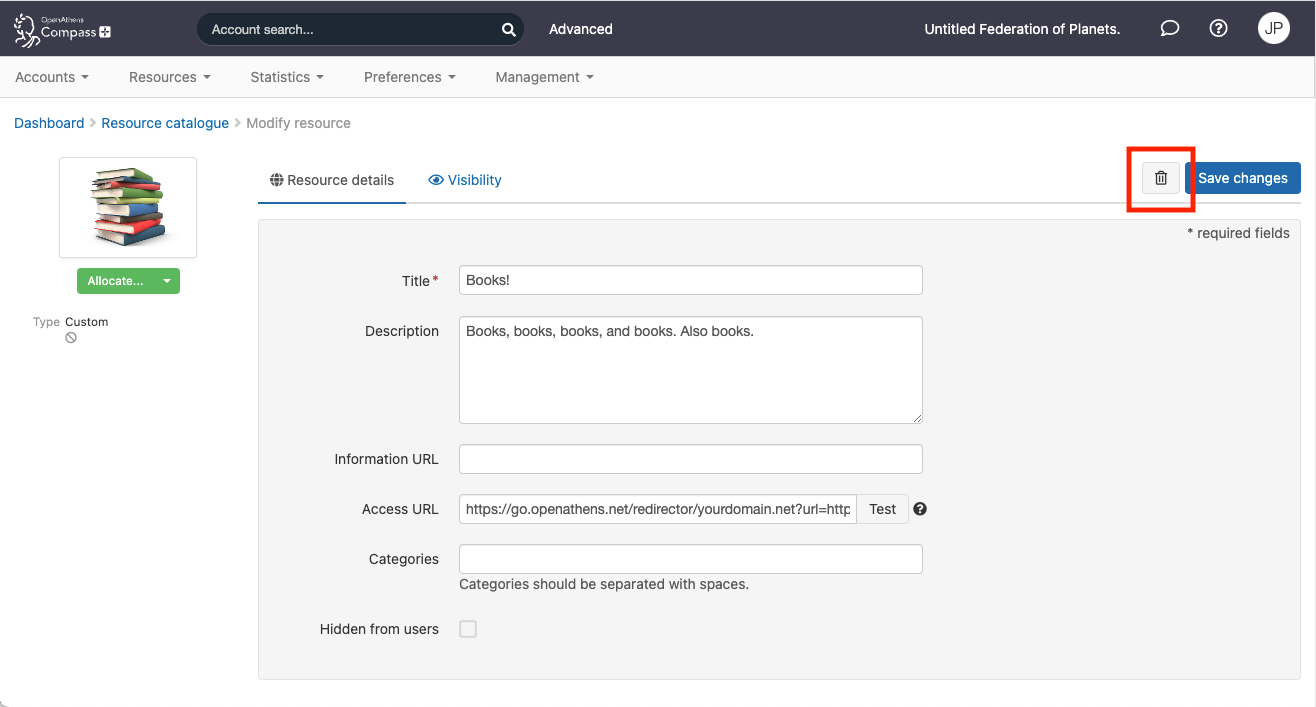
Click the name of the resource to go to its editing screen.
-
Press the

-
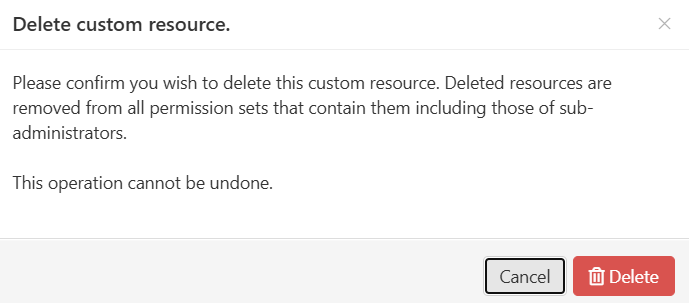
Press Delete to confirm.
Allocate a custom SAML resource
You can allocate custom SAML resources to permission sets in the same way that you allocate other resources.
Anything to watch out for?
Every few years, we have to update a security certificate which will affect these connections and require an update at the resource end. Since that end is both variable and unknown to us, we recommend you make and keep notes on how the resource end is configured. It could be as long as nine years before you need to refer to those notes, so local retention policies might be relevant.
If a SAML resource does not adhere to the SAML 2 core specification, it might not be able to work with OpenAthens this way. Our service desk will be happy to put the publisher in touch with someone who can talk to them about the benefits of federation membership.