Path to function: Resources > Catalogue
This is where you will find a list of all the potential resources that could be accessed by OpenAthens if you held active subscriptions to them with the suppliers. This is not the same as a list of all the resources that are compatible with OpenAthens; for example, if you are not in the UK, you will not see the resources that are only available through the UK Access Management Federation, and proxy resources must be made available to you by us before they will show up there.
The active subscriptions part is important because if you do not have a subscription to a resource, then you and your users will not get access. The rest of this article and all related articles will assume you have your subscriptions set up.
First off, you only need to be concerned about this function if you are either using restrictive mode or sending your users to MyAthens. If you are doing neither, then you do not need to allocate resources to permission sets.
You can select the resources here you want to allocate to permission sets and your users will see these in personalised lists of resources such as you would find in MyAthens. You can also specify your own links to include in MyAthens if you need to.
Resources are listed as cards. Clicking on the resource name will display more detail about that resource, and in most cases allow you to modify some of the details to better suit your needs - because of the way that federated resources work, it may not have been possible for us to include a generic access URL (there will be an icon under the logo if so), which means it is always worth looking at the details page and testing things before allocating anything to your users.
(The icons for no URL and hidden)
The green and blue colours on the buttons indicate if a resource has been allocated to any of your permission sets or not and will allow you to change that allocation. You can select multiple resources using the checkboxes and an actions button will appear (if you have selected a mixture of allocated and unallocated resources, the actions button will restrict some functions).
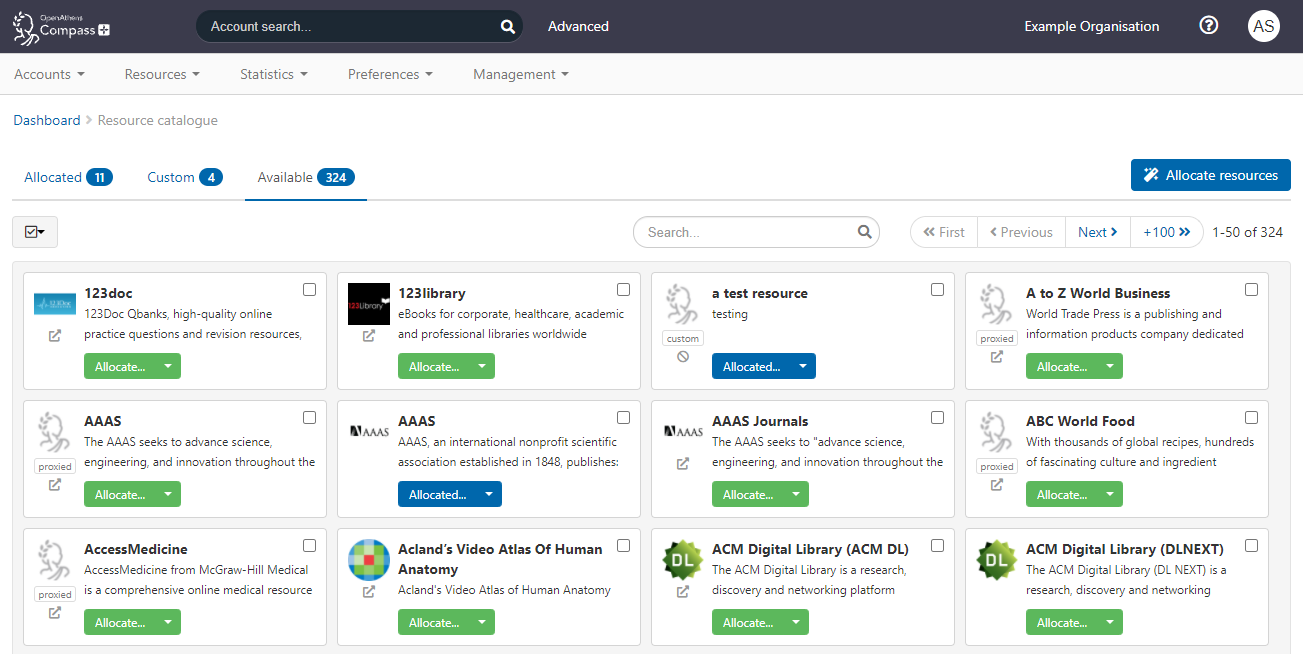
The search function allows you to filter the list to a more manageable size and will show resources that have the search terms in the title before resources that have the search terms in the description.
The tabs
The page is split over three tabs:
Allocated
This tab has the same functions as the Available tab but contains only those resources (including custom) that have been allocated to any of your permission sets. This page will contain significantly fewer resources than the available tab and may fit on a single page.
Custom
This tab is where you create and manage any custom resources that you wish to make available to your users.
Available
This tab has all the resources from all the sources you can connect to including any custom resources your own administrator has created and made available. Depending on where you are and which federations you belong to there could be several thousand possible resources visible on the available tab.
Allocating resources to permission sets
This is done in the same way on all three tabs, the only difference will be the number of resources there.
To allocate (or remove) a single resource to one or more permission sets at your level
On the resource in question, select the button that says allocate or allocated. Both will bring up the same options:
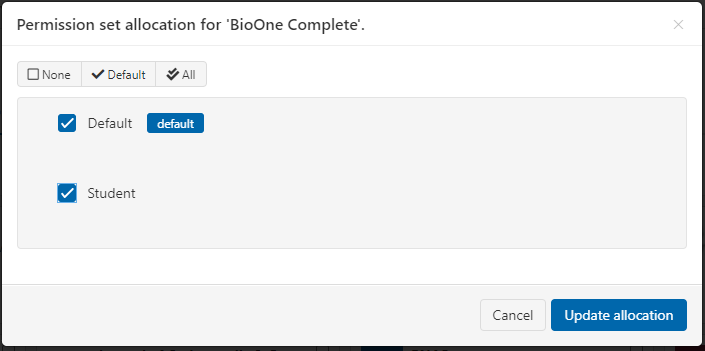
Tick the permission sets that you want to add the resource to (or untick any you want to remove the resource from) and save. The options at the top will let you select all permission sets, only the default ones or none.
To allocate multiple resources to selected permission sets at your level
Using the guide
The allocation guide can be accessed using the allocate resources button.
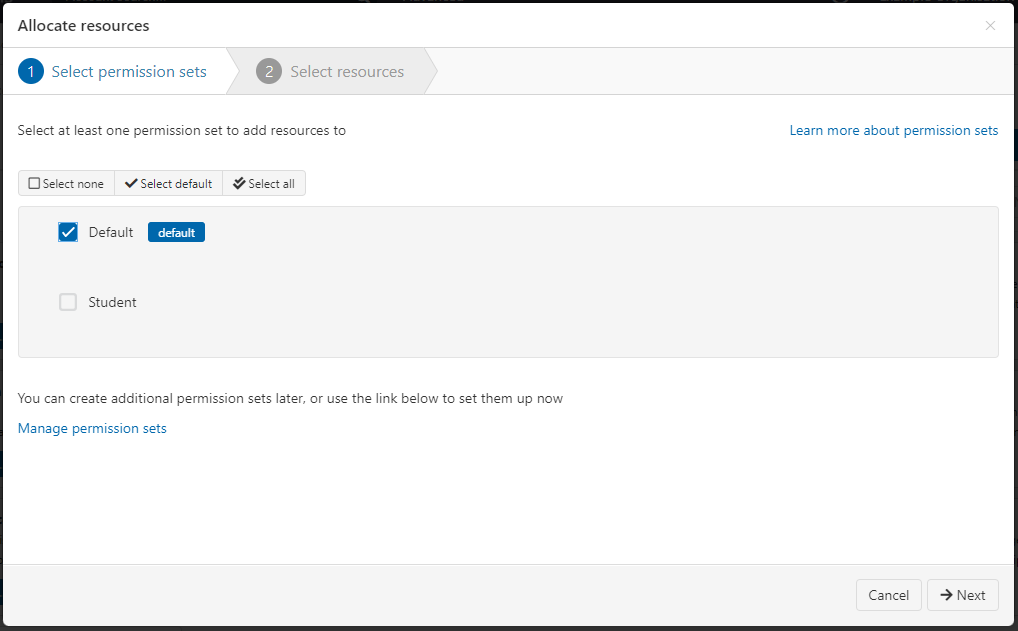
On the first page, select the permission sets that you want to add resources to. The options at the top will let you select all permission sets, only the default ones or none.
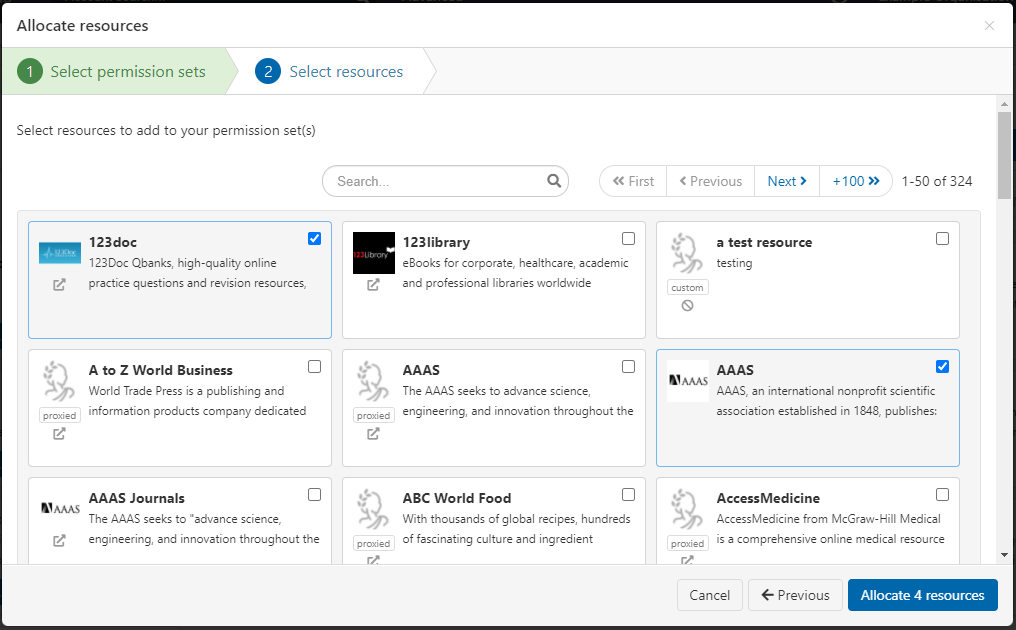
On the second page, select the resources that you want to add to the permission sets that you selected in the previous step. Finish the allocation process by clicking on the allocate resources button.
Using the Actions menu
This option will only be available if you select resources that are not already allocated to any of your permission sets. If you selected a mix of unallocated and already allocated resources, this option will not appear as an available action.
Once selected by ticking the boxes on the cards select the Actions button.
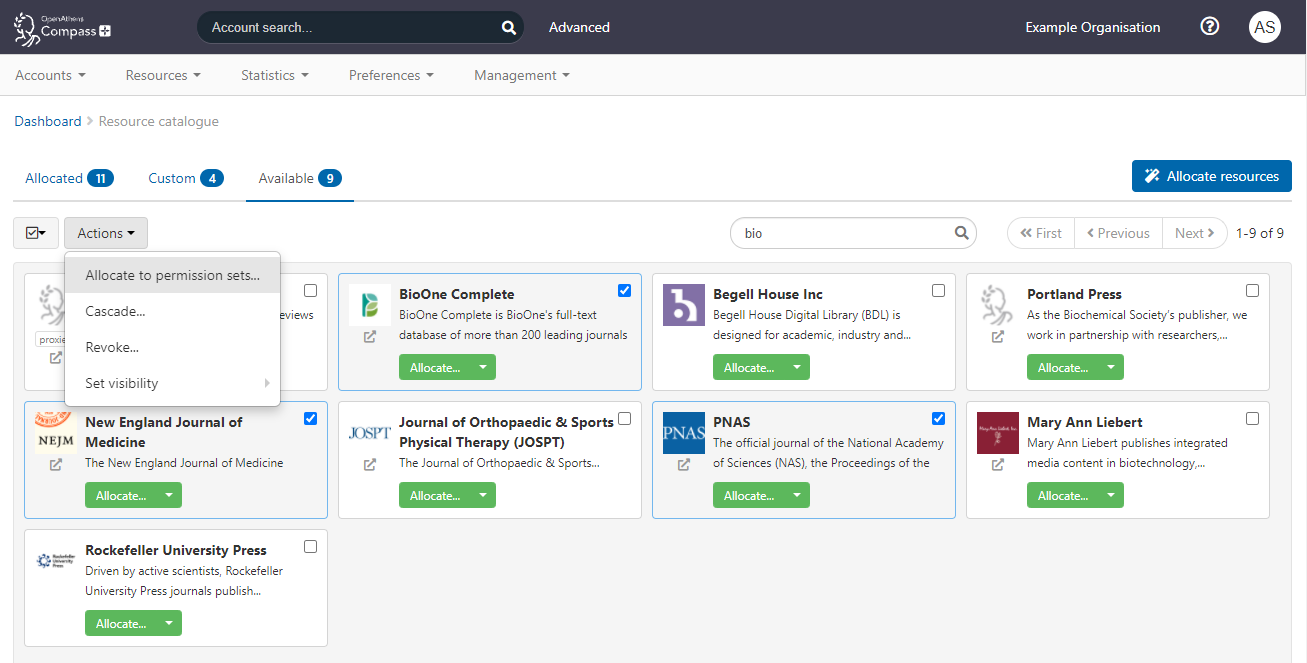
After choosing the Allocate to permission sets action you will have the option to allocate to (and remove from) any of your permission sets in the same way as with a single resource.
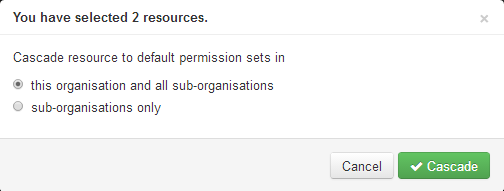
To allocate one or more resources to all the default permission sets in your organisation including those of any sub-administrators
Select the resource or resources from the catalogue via the checkboxes on the cards and select the 'Cascade...' option. This will add the resource(s) to any permission sets that are marked as default belonging to any of your sub-administrators plus any of their sub-administrators and so on; you may choose whether to include your own default permission sets in this allocation or not.
To remove a resource from your organisation's permission sets
Select the resource or resources from the catalogue via the checkboxes on the cards and select the 'Revoke...' option. This will remove the resource(s) from any permission sets that belong to any of your sub-administrators, any of their sub-administrators and so on; you may choose to include your own permission sets in this removal or not.

To filter the catalogue instead of search
In the resource details pane, anything in blue in the left panel can be used to filter the catalogue for type and owner.
On the resource cards, the redirector icon can be selected to filter for compatible resources.
Each will add text to the search box such as:
-
"source:OpenAthens Federation"
-
"owner:Ithaka Harbors, Inc."
-
"status:redirectable"
You can filter this way or search by name, but not both at the same time.
See also: