SirsiDynix connector
Path to function: Management > Connections > Add > SirsiDynix
OpenAthens can connect to your SirsiDynix system using its Symphony API so that you do not have to issue personal accounts for your users (though you will still need your OpenAthens administrator account). You should use at least two-factor authentication for your local users (for example, username and password, barcode and pin).
Preparation
Before you start, you need:
Access to the SirsiDynix Symphony Web Services Gateway API
A login point that is accessible from outside your network
Access to the OpenAthens administration area at the domain level
If the Sirsi API server uses a self-signed certificate for https, you will also need a copy of this certificate in PEM format
Add the connection
Log in to the OpenAthens admin area as the domain administrator.
Go to Management > Connections.
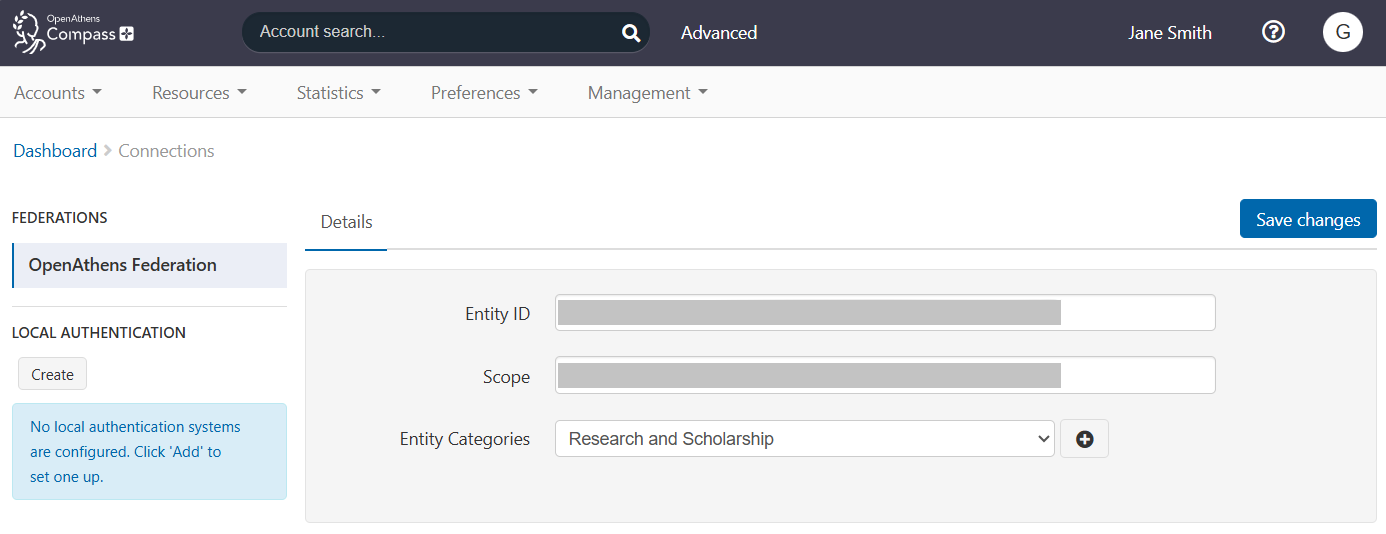
Under Local authentication in the left sidebar, press Create. A pop-up opens, showing available types of connector.
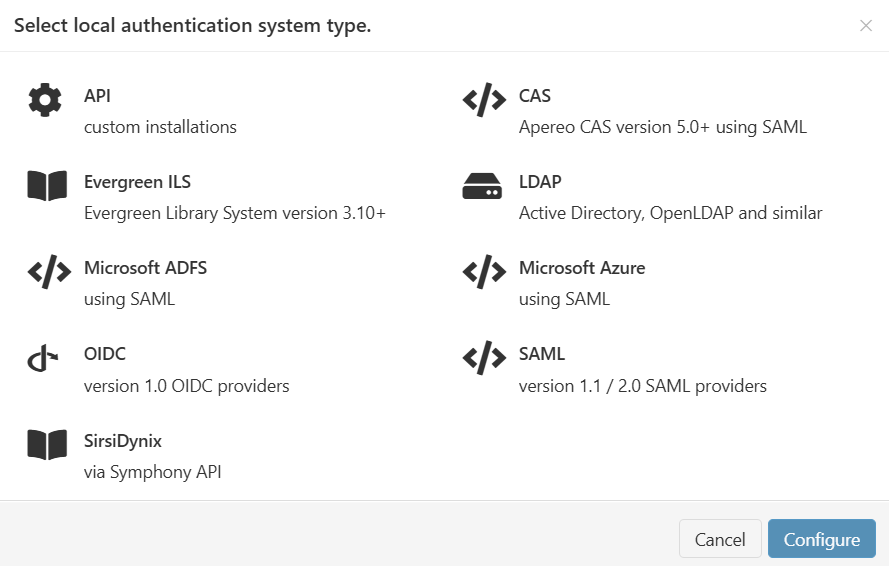
Select SirsiDynix and press Configure.
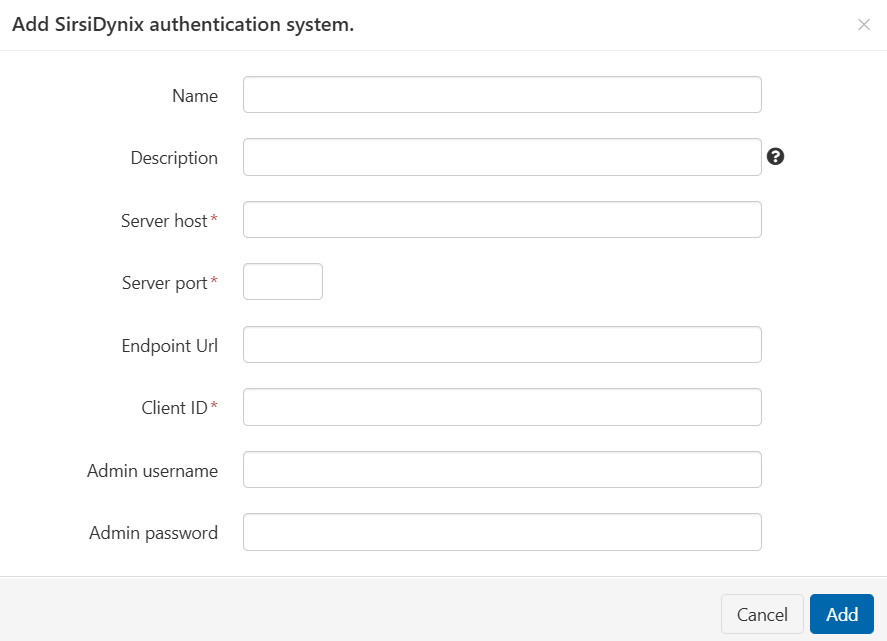
Fill in the required information to create the connection. See Detail fields, below, for an explanation of each field.
Press Add. The connector is created.
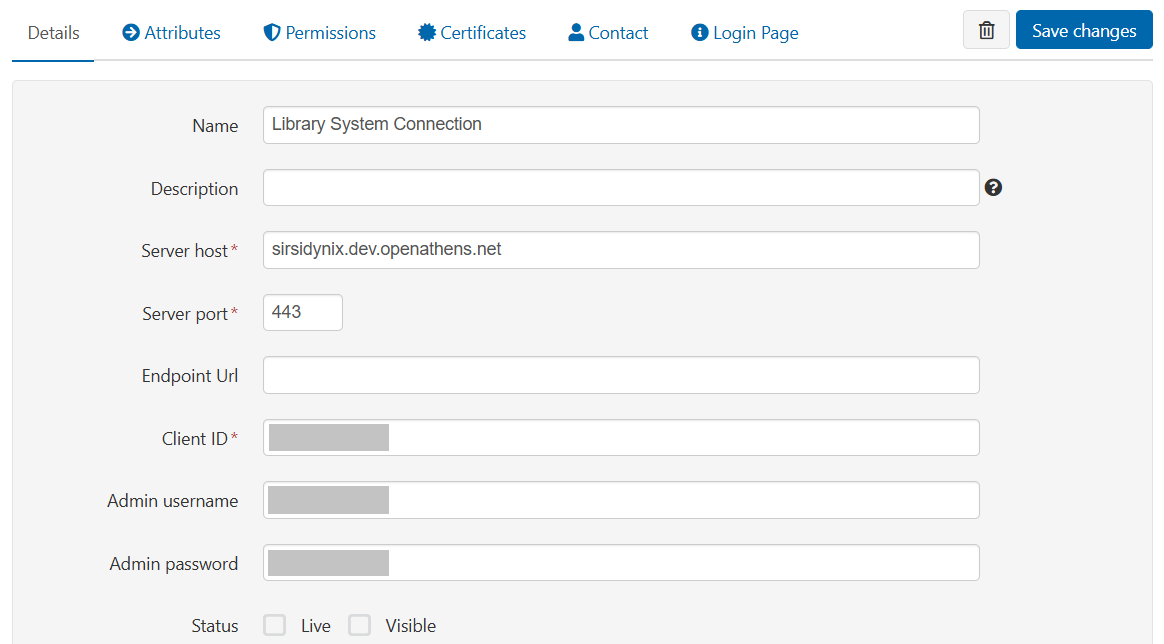
If your connection requires a certificate, go to the Certificates tab.
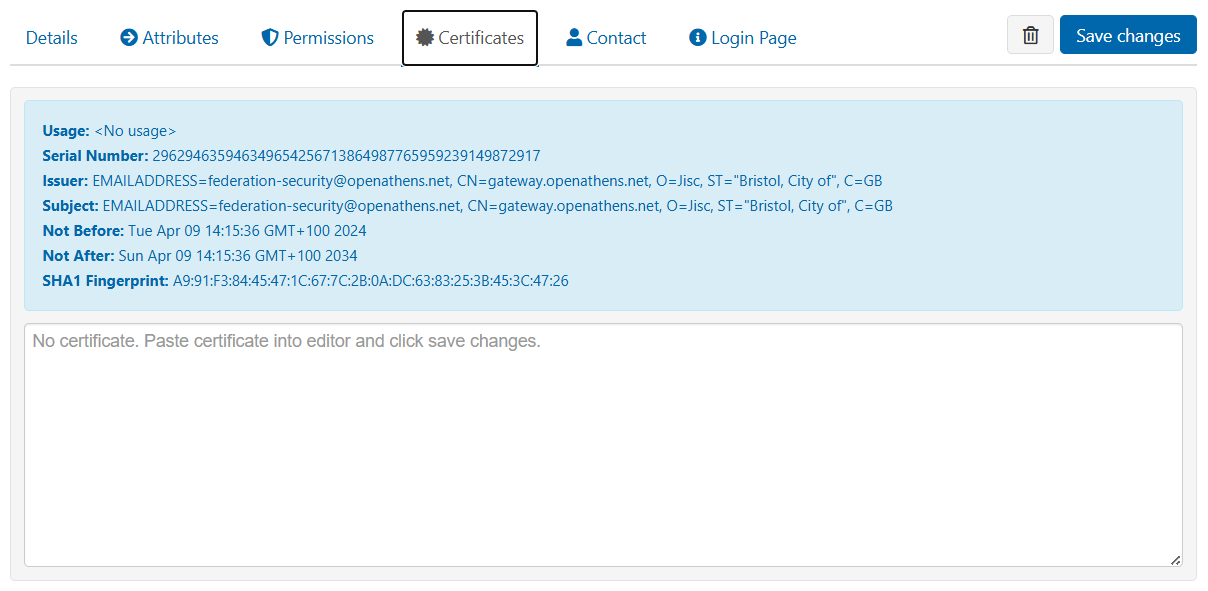
Paste in the contents of the certificate file, which should look similar to this:
CODE-----BEGIN CERTIFICATE----- IIIDlTCCAn2gLwIBAgIQJuhFWFFr7ZxCMn6ymkjQtjANBgkqhkiG9w0BAQUFADBd sRMwEQYKCIAZImiYLGQBGRYDbmV0MRowGAYKCZImiZPyLGQBGRYKb3BlbmF0aGVu HzESMBAGCLnmSJoN8ixkARkWAmFkMRYwFAYDVQQDEw1hZC1PQS1BREZTLUNBMB4X dTE1MDExNIdEwNTENFoXDTI1MDExNjExMDA1OVowXTETMBEGCgmSJomT8ixkARkW N25ldDEaMKIgGCgmSomT8ixkARkWCm9wZW5hdGhlbnMxEjAQBgoJkiaJk/IsZAEZ EgJhZDEWMBcQGA1UAAMNYWQtT0EtQURGUy1DQTCCASIwDQYJKoZIhvcNAQEBBQAD SgEPADCCAIAoCggEAMNkzzh4fgdFtCHzhbTSmSrEx846+wRmdG1FHKhSkXkmbV1U 8S/TtRJ6zGnPvb18AC/IGC7msrvSsZc19Jfe5nJVL2kSCAWDLjsIwJKUb9gep3na R846gv83QBnm0/YJpyT2DcAVcvCQAI2+MjoLFET43v9haREjbGa7JFDdnjsbjqyZ EODlalLKOUoLicsGmTKFSI4UX3fzAPhf85lsod87w4Er05MdxQifVWpaDcPUh1BJ BK92Sy+oITTEqQzL4Vtd/1O4HuyOSw5wOBJLGP4PTwbqPdrpotvDPg+MLN/RHc54 vUEJcl1mTTLLBmMYiVJKXMxT1CYmYWM9ibA7JB8CAwEAAaNRME8wCwYDVR0PBAQD SgGGMA8GASiUdEwE/wQFMAMBAf8wHQYDVR0OBBYEFGWVTvqweerzee/JFMbuTYzi To/VMBAGCSEsGAQQgjcVAQQDAgEAMA0GCSqGSIb3DQEBBQUAA4IBAQDGIvljYiX1 wmneie6HnOmkNhQVuvxCSOpYZT3uezq/8/ZrhR5UrkWfYdmfhcmNgmndcMr3GSCt DJdjxT9c0qUK+PC2IjZtO3tVvuuZY1cf5E6A5TArihsz+E9rbcMta3YDT7kfpXj/ /LggHsjOUxARZ/bAgP266HKGwC5vupxNIB79dwFKmr56fmnZ51kA+mdwB77Be6eO ompj/OTJqTveH3CjAEyVFyTKrdr7nDXCVwPDyWGTY7rKnkoXGnNWOo+X+Z1Xe0qy jGZJ1VsEP4N9KwZ5T8Dz+g4oecj+2kn0pwNidxTMfMoEQWd20hSUO6UwUcyPH1L5 Q43QVdc7cHUv -----END CERTIFICATE-----
This will be converted to a summary panel: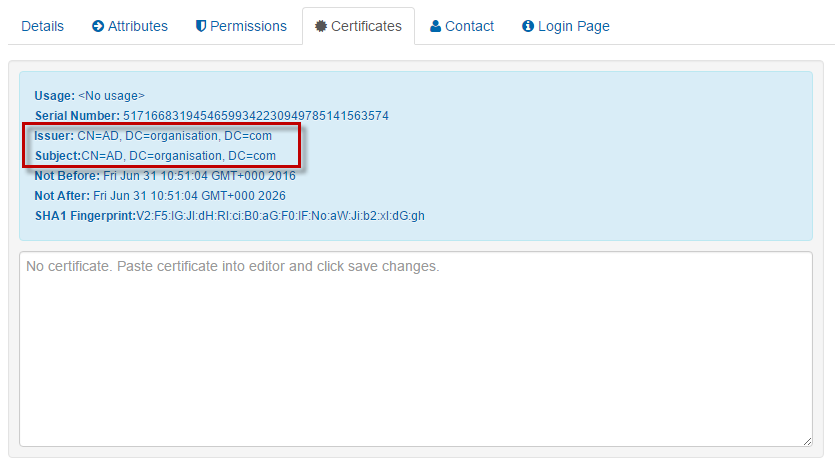
Save your changes.
Detail fields
Field | Explanation |
|---|---|
Name | Name of the connection, as it will appear to users in our authentication point when there is a choice of connector. |
Description | Description of the connection, as it will appear in our authentication point when there is a choice of connector. |
Server host | The address at which OpenAthens can connect to your server. This address must be accessible from outside your network. E.g. |
Server port | The port that your server uses for API traffic. You can specify a non-standard port if necessary. E.g. |
Endpoint URL | Where the API calls should be sent. E.g. |
Client ID | Your client ID. E.g. |
Admin username | Not normally required. Must be specified only if you need to map or act on privileged attributes such as 'category-1'. |
Admin password | Not normally required. Must be specified only if you need to map or act on privileged attributes such as 'category-1'. |
Status | Not Live = can be used only in debug mode. Live but not Visible = can be used only in debug mode. Live and Visible = production ready. Users will be able to access this login at the authentication point. If you have only one connection, it will become the default login whenever your organisation is known (e.g. for any resources where access involves your entityID). Changes to the status usually take effect within moments. |
Create local accounts | Automatically: any user authenticated by your system is deemed OK and will be accepted by the system. Manually: only user IDs you have previously uploaded will be accepted by our systems. See how to limit which local accounts can sign in. |
Remove local accounts | This setting controls when local account data will be automatically cleared from the system and is the number of days from the last time the account last signed in. Pre-mapped accounts that have not been seen are also cleared. The setting can be from 1 to 365 days and represents the number of complete days that have passed since the date the account last signed in, i.e. does not include the day of the last sign-in in the count. See also: How to modify a local account. |
Statistics show the user identifier passed by the SirsiDynix system, e.g. the barcode.
Other configuration options
In the Login Page tab, customise the end-user login page to suit your organisation
Configure permission set rules so that users are assigned an appropriate set of resources
Configure attribute mappings so that OpenAthens can make use of data available from SirsiDynix. (See also: Typical SirsiDynix attributes)
When you're ready to go live, go to the Details tab of the connection and set the Status to Live and Visible. Save your changes. Your new connection should be available in the authentication point in a few seconds.
Testing
Since OpenAthens accounts will still work if entered (see below), some sites are happy to test by setting the connector to Live and Visible for short periods of time. You can also use debug mode to make all connections available to you without being visible to your users.
How to use SirsiDynix alongside OpenAthens accounts or other connections
If this is your only local connection, once you set it as both Live and Visible it becomes the expected way for users to sign in to OpenAthens where the system knows that the user belongs to your institution. That means that the user has selected your organisation from a WAYF on a federated resource, or that the system remembers the user having done so previously.
Where the system does not know that the user is yours, only the OpenAthens account login will appear automatically, but the user can find your organisation through search. Once the user selects your organisation, they are taken to your connection.
Users from your organisation who have OpenAthens accounts can still sign in by entering their username and password in the same login box as the SirsiDynix account. This may affect your choice of label text.
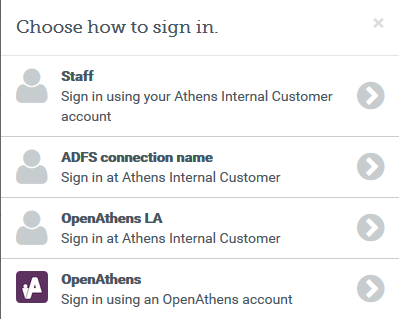
If you offer more than one login option, the display of the options depends on what they are. If they are all SirsiDynix or LDAP, the user will see a drop-down list above the fields for entering their credentials. This list shows all SirsiDynix and LDAP connections that are set as Live and Visible.
If your mix includes SAML or OpenAthens API connections, e.g. SirsiDynix for patrons and ADFS for staff, the different login methods are presented in an overlay for users to select. If the user chooses a local connection and successfully signs in, their choice will be remembered next time. If the user fails to sign in for any reason, the authentication point will forget their preference and offer a choice of connections again next time. (This prevents users who select the wrong option from getting stuck at a login they cannot use.)
Depending on your subscription, multiple connections may incur additional charges.
Anything to watch out for?
Your network team may need to know that connections from us come from the IP addresses 35.189.71.17 and 35.224.184.162. Any changes to these addresses will be communicated in advance.