This section assumes a basic level of familiarity with the Azure interface (Entra ID). If necessary, ask your IT team to help set up and configure Azure.
While our service desk will always try to be helpful, they can only support the OpenAthens end of the connection.
Prerequisites
You will need:
-
Access to your Microsoft Azure portal (Entra ID)
-
Access to the OpenAthens admin interface as the domain administrator
Method
Create a connector
-
Log in to the OpenAthens admin area as the domain administrator.
-
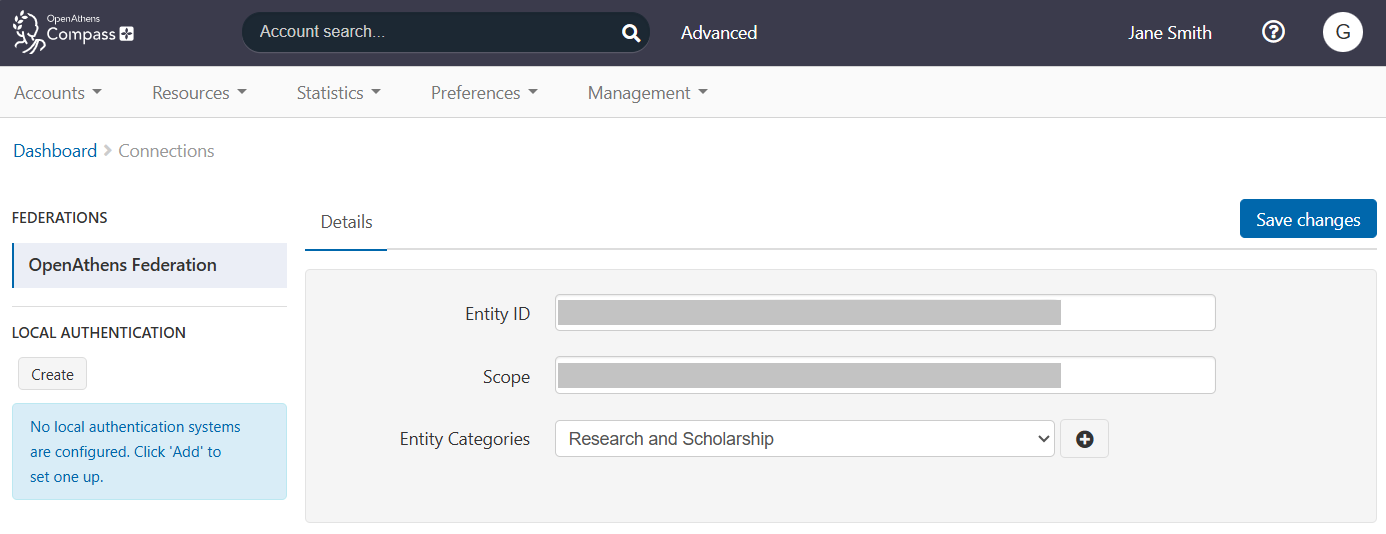
Go to Management > Connections.
-
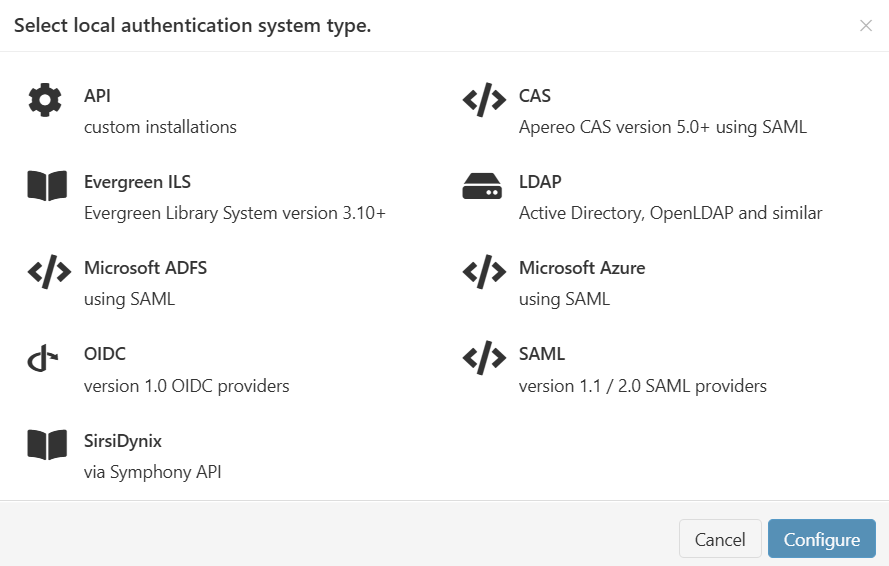
Under Local authentication in the left sidebar, press Create. A pop-up opens, showing available types of connector.
-
Select Microsoft Azure and press Configure.
-
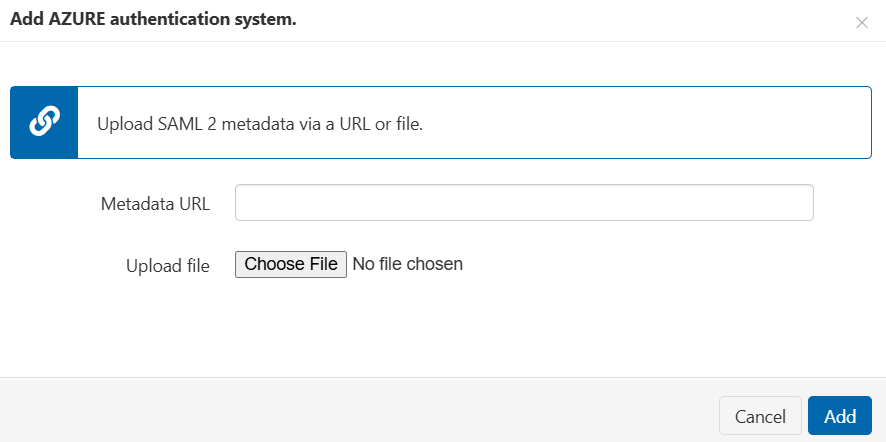
In Metadata URL, enter (for now) a dummy metadata URL: https://login.openathens.net/saml/2/metadata-idp/azure.openathens.net.
-
Press Add. The connector is created with a temporary name. You can now view or edit its details.
-
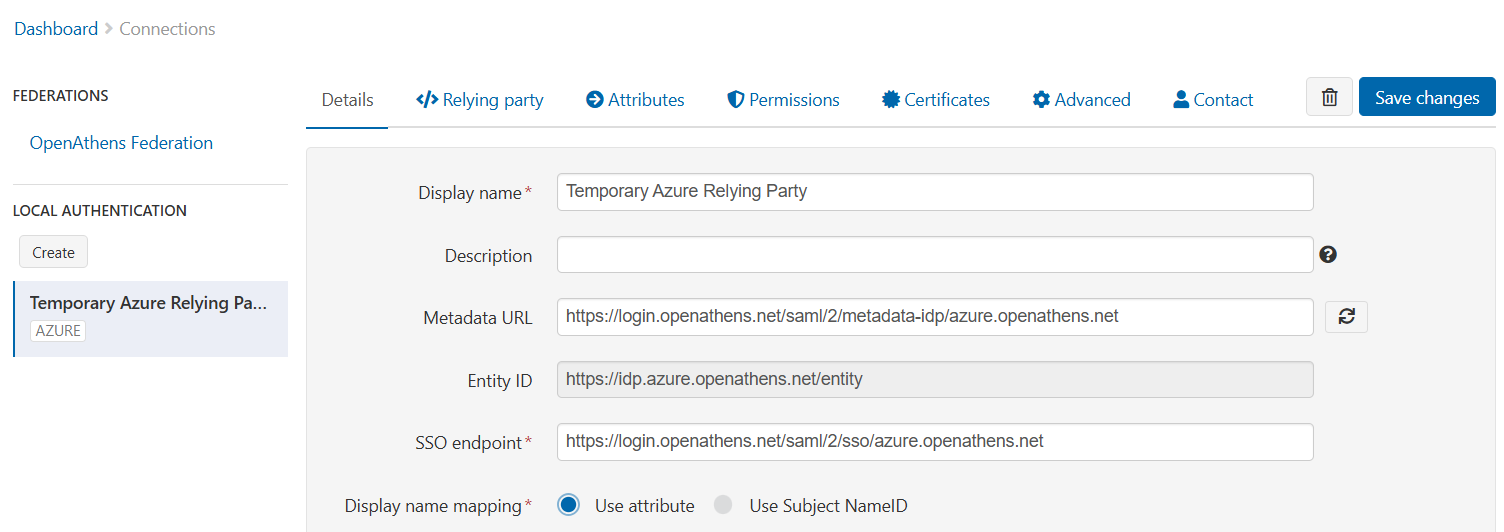
Go to the Relying party tab and copy the Metadata URL shown there. The URL looks something like https://login.openathens.net/saml/2/metadata-sp/yourdomain.com/la/1234.

-
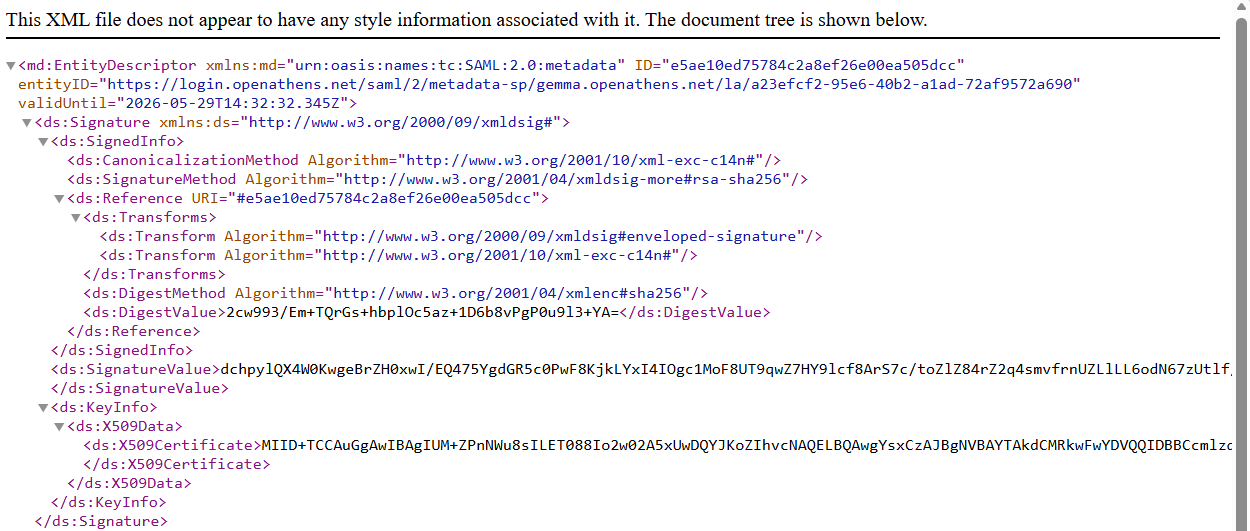
Paste the copied URL into your browser’s address bar. The URL will load an XML file. This is your SP metadata for the connection.
-
In the file, find the following pieces of information and save them in a convenient place:
-
Your entityID. This appears near the top of the file, as part of the XML element md:EntityDescriptor. It is identical to the relying party metadata URL that you copied earlier.

-
Your AssertionConsumerService (ACS) location URL. This appears near the end of the file, in the element md:AssertionConsumerService. It will usually begin with “https://login.openathens.net/saml/2/acs”.

-
Add an application to Azure (Entra ID)
In Azure (Entra ID), perform the following steps:
-
Create a new OpenAthens application.
-
Set up SAML single sign-on for the application.
-
Configure the SAML connection with the following settings:
-
Identifier: your entityID (delete any existing identifier)
-
Reply URL: your Assertion Consumer Service location URL (delete any existing URL).
-
-
In the SAML certificates section, copy and save the URL of the federation metadata.
Consult Microsoft’s documentation for detailed instructions. Microsoft offers a tutorial on integrating with OpenAthens, Configure OpenAthens for single sign-on with Microsoft Entra ID.
Update the connection settings in OpenAthens
-
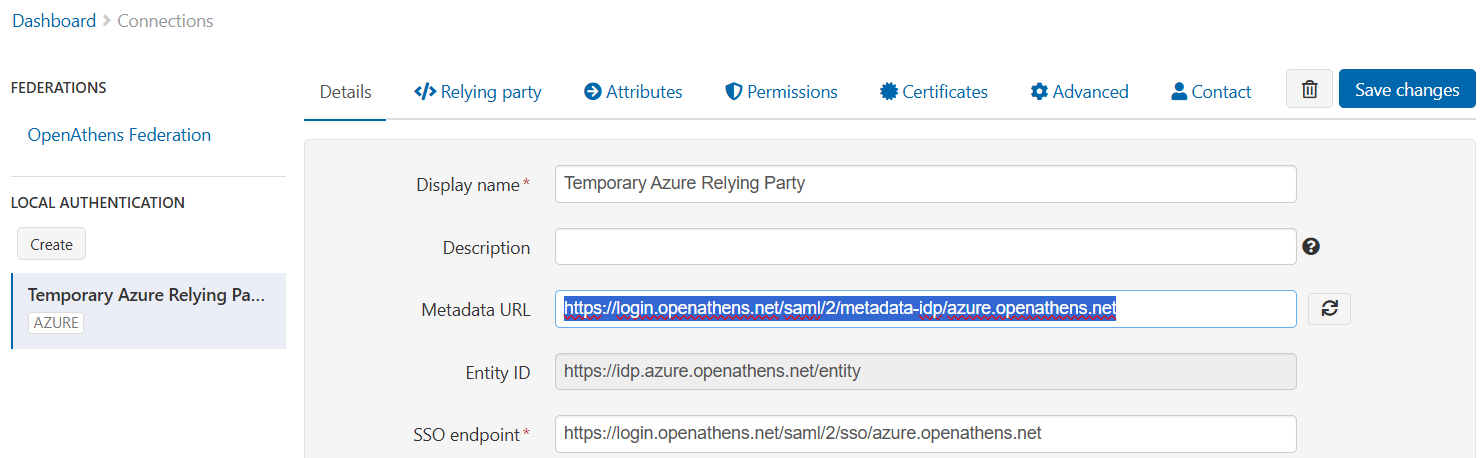
In the OpenAthens admin area, go to Management > Connections and open your new Azure connector for editing.
-
In the Details tab, replace Metadata URL with the metadata URL that you copied from Azure (Entra ID).
-
Click the

-
Give the connector an appropriate Display name.
-
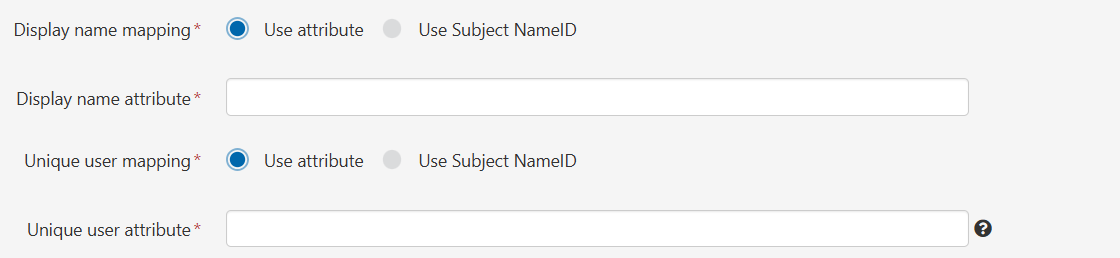
Set Display name mapping to Use Subject NameID.
-
Set Unique user mapping to Use Subject NameID.
Later, you can specify attributes to use instead of Subject NameID, by filling in Display name attribute and Unique user attribute. Make these changes before going live. The identifiers that OpenAthens passes to resources are based on the unique user attribute, so the attribute that you use must be unique, persistent and non-reusable. (See the Microsoft documentation, Configure OpenAthens for single sign-on with Microsoft Entra ID.)
-
Set the Status of the connector.
-
If you have no existing OpenAthens users, you can tick the Live, Visible and Default statuses and start testing as soon as you have saved your changes.
-
If you have existing OpenAthens users, leave Live, Visible and Default unticked. Otherwise, you may prevent existing users from logging in. You can still test, but will need to use debug mode.
-
-
Press Save changes to finish.
You should now be able to test logging in and other functionality.
Set up any additional attributes
You may want to be able to do more with OpenAthens than simply sign the user in. For example, you can assign permissions based on the values of the attributes you send.
-
In Azure (Entra ID), add any required attributes to the OpenAthens application that are not already available. See Microsoft Entra: Customize SAML token claims.
-
In the OpenAthens admin area, configure the attributes. See Attribute mapping and Permission set rules.
OpenAthens caches attributes when a user signs in. Changes in Azure (Entra ID) will be picked up the next time the user starts an OpenAthens session.