Path to function: Management > Connections > Add > SAML
OpenAthens can connect to SAML sources including Okta so that you do not have to issue personal accounts for your users (you will still need your OpenAthens administrator account).
As well as the ability to use local accounts instead of maintaining a separate set of credentials, accesses to federated resources that already involve discovery (identifying the user’s home organisation) will take the user directly to your Okta login.
Preparation
Before you start, you need:
-
Access to the OpenAthens administration area at the domain level
-
Access to your Okta admin dashboard
If you need technical help, consult the Okta documentation or talk to your IT team. Our support team are also happy to help, but can fully support only the OpenAthens end of the connection.
Create your application in Okta
Start by logging in to Okta. Create a new application for your OpenAthens connection, with the settings that follow.
For details, see the Okta guide Create SAML app integrations.
Application settings
|
Setting |
Value |
|---|---|
|
Platform |
Web |
|
Sign-in method |
SAML 2.0 |
|
Name of the application |
‘OpenAthens’ or whatever suits your purpose |
|
Single sign-on URL |
Enter a placeholder for now, e.g. ‘https://placeholder.com’. You will return and update this after setting up the connection in OpenAthens |
|
Audience URI |
Enter a placeholder for now, e.g. ‘https://placeholder.com’. You will return and update this after setting up the connection in OpenAthens |
|
Default RelayState |
Leave blank |
|
Name ID format |
This must match what you will be sending as the username. If your usernames are email addresses, select the email address format. Otherwise, select ‘persistent’. |
|
Application username format |
‘Okta username’ unless you specifically need a different value. Whichever format you choose, a username must be unique to the user. |
|
Advanced settings |
Leave as they are |
|
Attribute statements |
As required for the attributes you will be sending from OpenAthens. For details, see the Okta documentation and (below) Final steps |
Once you have created the application, copy its metadata URL from the Okta interface.
Set up the connection in OpenAthens
-
Log in to the OpenAthens admin area as the domain administrator.
-
Go to Management > Connections.
-
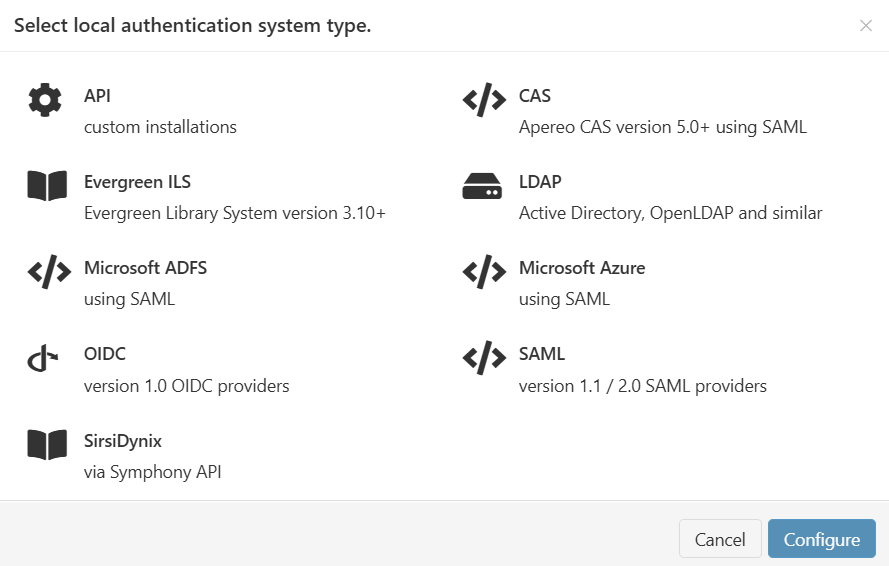
Under Local authentication in the left sidebar, press Create. A pop-up opens, showing available types of connector.
-
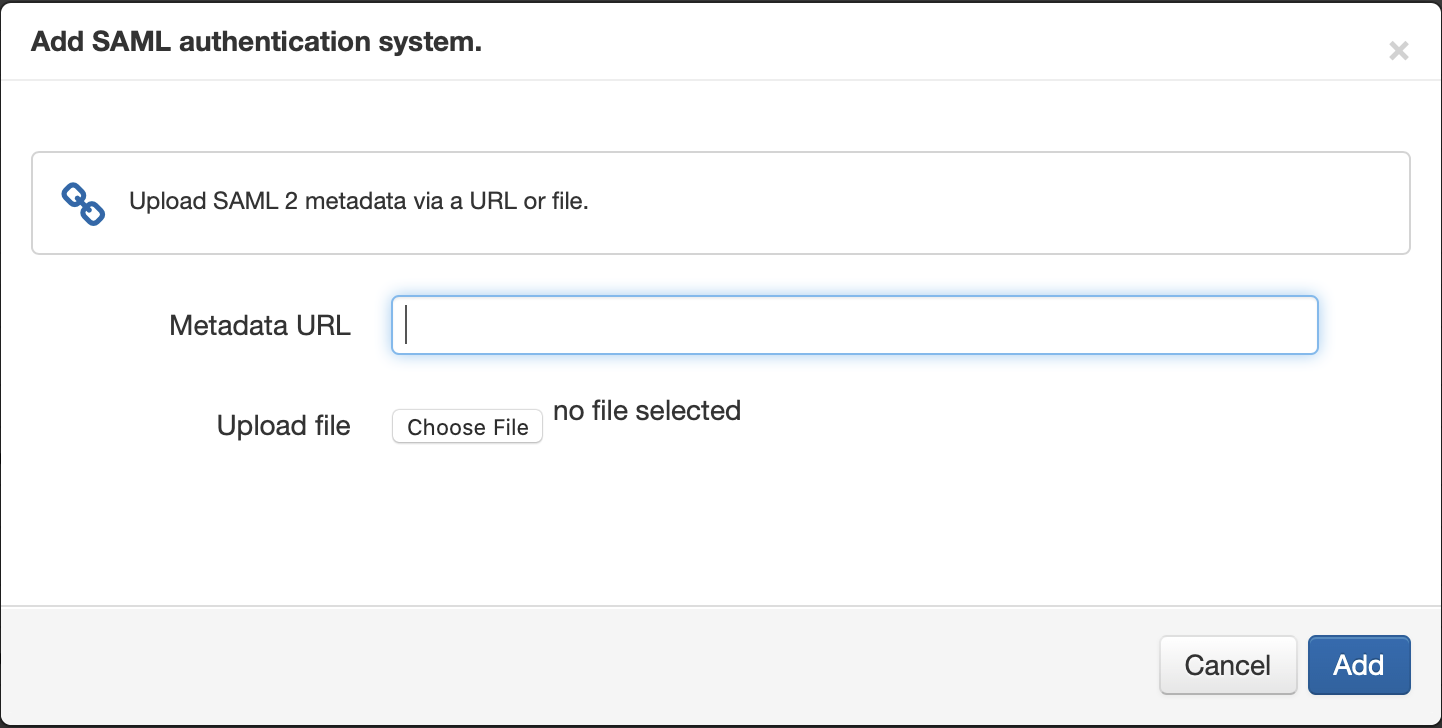
Select SAML and press Configure.
-
In the Metadata URL field, enter the metadata URL you copied from Okta.
-
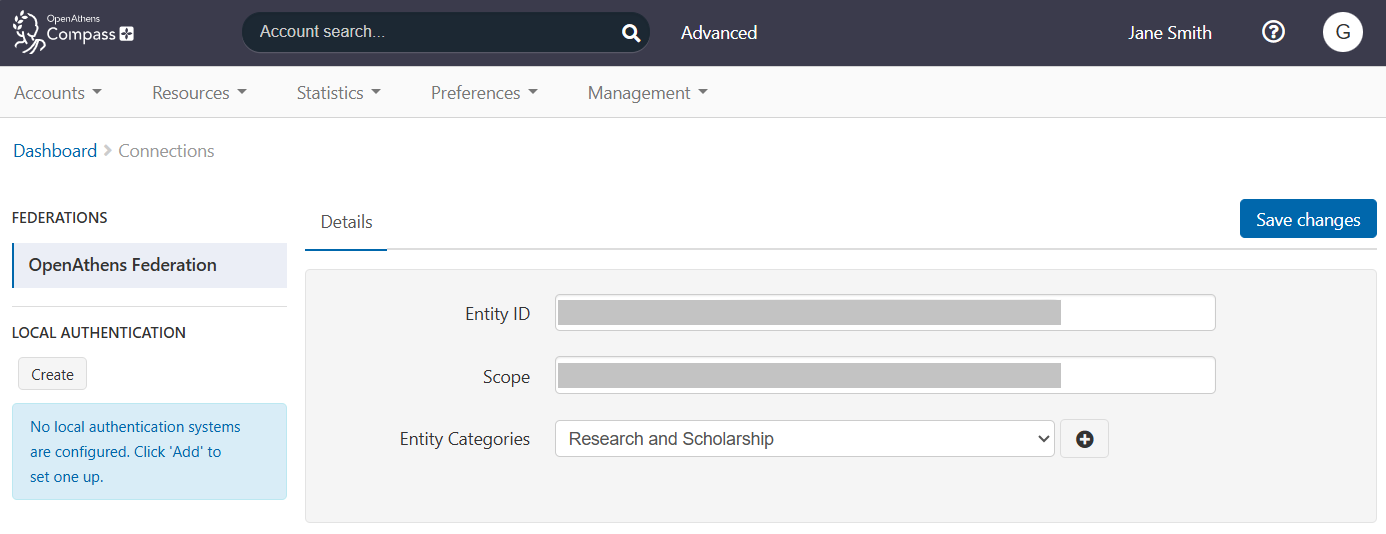
Press Add. The connection is created. You can now view and edit its details.
-
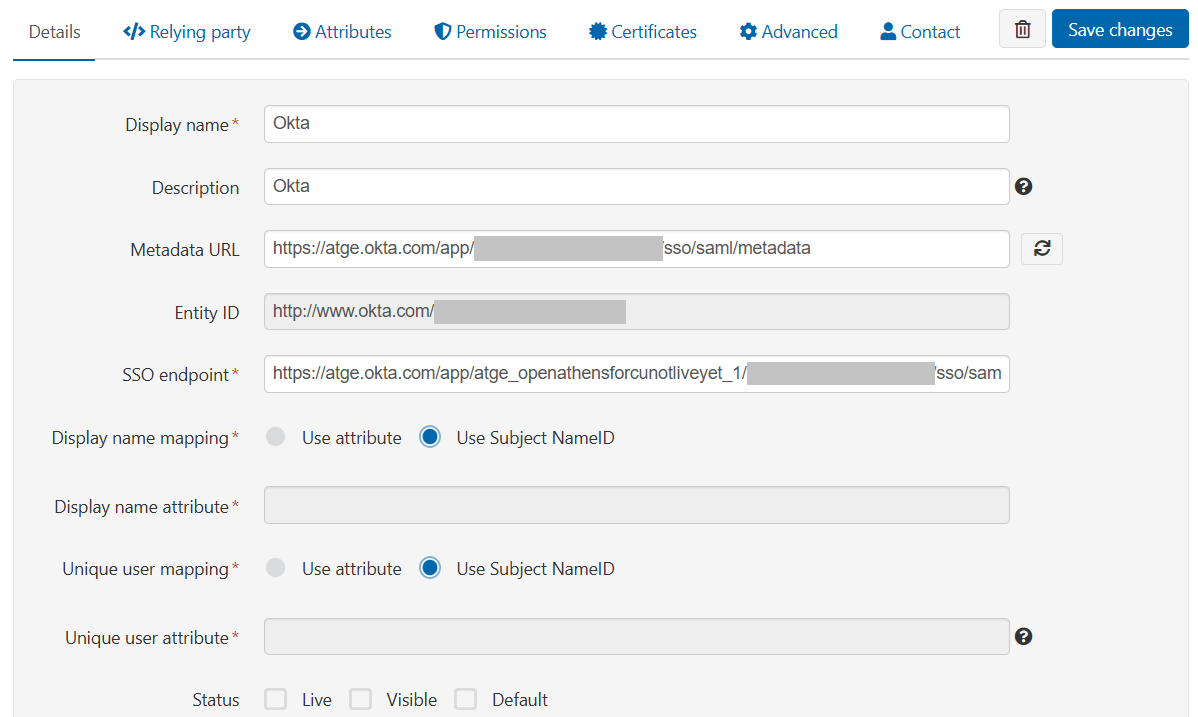
Set both Display name mapping and Unique user mapping to Use Subject NameID. You can change the display name later if necessary.
-
Complete other fields as required. See Detail fields, below, for an explanation of each field.
-
Do not set the Status as Default at this time.
-
Save your changes.
-
Lastly, go to the Relying party tab and copy the Metadata URL shown there. This is unique to the connection and you will need it to complete the setup in Okta.

-
Load the metadata URL in a new browser tab, giving you an XML file from which you can copy key data.
Detail fields
|
Field |
Explanation |
|---|---|
|
Display name |
The name of the connection, as it will appear in our authentication point when there is a choice of connector. Defaults to the name specified in the SAML metadata. |
|
Metadata URL |
Where the SAML metadata is published. Populated only when metadata is loaded from a URL, it allows easy updates to the connection if your SAML system changes. |
|
EntityID |
The entity identifier of your SAML instance, drawn from the SAML metadata. |
|
SSO endpoint |
The login address, again drawn from the SAML metadata. |
|
Display name attribute |
The attribute you specify here supplies the value displayed in account lists and the audit trail. Something human readable is recommended. It can be the same as the Unique user attribute. |
|
Unique user attribute |
The attribute you specify here must supply a persistent value unique to the user within the current user set and should supply a pseudonymous value unique to that user for all time. This is used by the system to tell users apart and also used in the generation of targetedIDs and statistics. It does not have to be the username entered at your login point. If you use the SAML NameID here, the requirement for unique and persistent limits the type to:
|
|
Status |
Not Live = connection can be used only in debug mode. The visibility and default flags are ignored. Live and Visible (if this is the only local connection) = connection can be used only in debug mode. Live and Visible (if there are multiple live and visible connections) = users are offered a choice of connections, including this one. There is a domain preference to include OpenAthens accounts or not. Live and Visible and Default = this is your only login option and users will be sent directly to your login whenever the organisation is known. A successful authentication will tell the authentication point to remember that location. A failed authentication clears the location preference. Debug mode will not show other login options. Changes to the status can take a few minutes to take effect. |
|
Create local accounts |
Automatically: any user authenticated by your system and passed back to us is deemed OK and will be accepted by the system. Manually: only user IDs you have previously uploaded via the list page will be accepted by our systems. |
|
Remove local accounts |
This setting controls when local account data will be automatically cleared from the system and is the number of days from the last time the account last signed in. Pre-mapped accounts that have not been seen are also cleared. The setting can be from 1 to 365 days and represents the number of complete days that have passed since the date the account last signed in, i.e. does not include the day of the last sign-in in the count. See also: How to modify a local account.
|
|
Salt value |
The salt used to generate a targetedID for users authenticated by this connection. You might edit the salt if upgrading from something like Shibboleth, so that your users can have the same targetedID value when they change systems. If you set it to blank, the connection will use the same salt as your OpenAthens accounts. Avoid modifying this after you go live, which will change the user identifiers seen by service providers. |
Complete configuration in Okta
-
In your Okta dashboard, open the OpenAthens application for editing.
-
In the Audience URI field, replace the placeholder you entered earlier with the metadata URL you copied from OpenAthens.
-
In the metadata file you opened, find the line beginning md:AssertionConsumerService. Copy the value of the Location attribute in this line. This will be a login URL beginning with “https://login.openathens.net/saml/2/acs/”. For example:
<md:AssertionConsumerService Binding="urn:oasis:names:tc:SAML:2.0:bindings:HTTP-POST" Location="https://login.openathens.net/saml/2/acs/YOURDOMAINNAME/la/NUMERIC_ID" index="1"isDefault="true"/> -
In the Single sign-on URL field, replace the placeholder you entered earlier with the login URL you copied from the file.
-
Save your changes.
You can now test that things are working at a basic level.
If you have a new site with no active users, you can go to the Details tab of the connection in OpenAthens and set the Status to Live, Visible and Default. If you already have active users, using another connector or OpenAthens accounts, you will need to use debug mode to hide the new connection from your users while testing.
Final steps
Attributes
Once you have tested that the basics are working, you can configure any additional attributes.
Depending on your library's needs, the unique user identifier may be sufficient. However, usually you will want to release more information so that local attributes can be mapped to OpenAthens attributes and used for organisation, statistics, resource access, display names and resource allocation. For example:
-
First and last names or a display name to help the library identify users (the unique user attribute shouldn't be suitable for this)
-
Email address to help the library contact users and, in certain cases, release that data to service providers
-
An attribute indicating group membership to let them assign different permission sets to different groups of users based on rules
-
A department or OU name for statistics to aggregate on
In all cases, the library will need the names of the attributes for the next part of the setup. Attribute names are case sensitive and may not contain spaces.
-
In Okta, define your attributes under Attribute statements in the application settings. (See Define attribute statements in the Okta documentation.) Make a note of the names you give them, since you will need to enter these names in OpenAthens.
-
In OpenAthens, configure attribute mappings so that OpenAthens can make use of data passed by your source.
OpenAthens will cache these attributes when the user signs in, so changes in your directory won't be picked up until the next time the user starts an OpenAthens session.
Permissions
In OpenAthens, configure permission set rules so that your users are assigned an appropriate set of resources.
Changes to these rules take only a few seconds to go live.
Anything to watch out for?
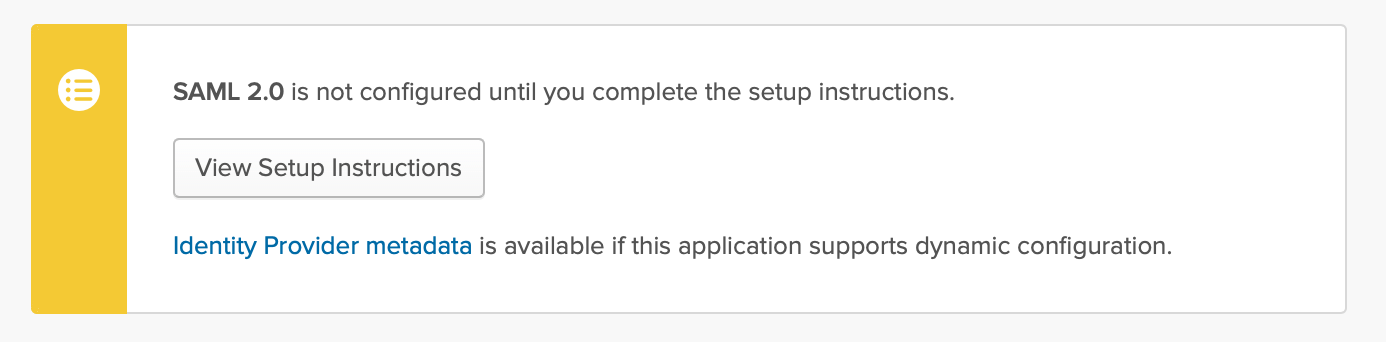
If you refresh the connection’s metadata by using the ![]()
If you are planning to pre-upload user identifiers, you will need to have at least one local account visible in the list to access the upload button. Do not delete all your test logins until at least some of your pre-mappings are uploaded.
If at any time you know that Okta’s server certificate is due to change, you can add a second certificate in the Certificates tab in OpenAthens. This helps to minimise downtime for your users.
You shouldn’t need to change any settings in the Advanced tab.