Evergreen ILS connector
Path to function: Management > Connections > Add > Evergreen ILS |
The OpenAthens local authentication API can be used to log your users into the system based on credentials stored in any system you can gain programmatic access to and is ideal in situations where you cannot use any of the other connection types. Evergreen ILS has a built-in handler for our API.
Preparation
Before you start you will need:
An API Key you have generated for this - see API keys
Access to the OpenAthens administration area at the domain level
Access to your Evergreen administration portal
If you're unsure about anything or get stuck, we're happy to help but can only really talk about the OpenAhtens end. Hit the support link in the top right of the admin area to get through to your local support team.
Add the connection in OpenAthens
In the administration interface as the domain administrator go to Management > Connections
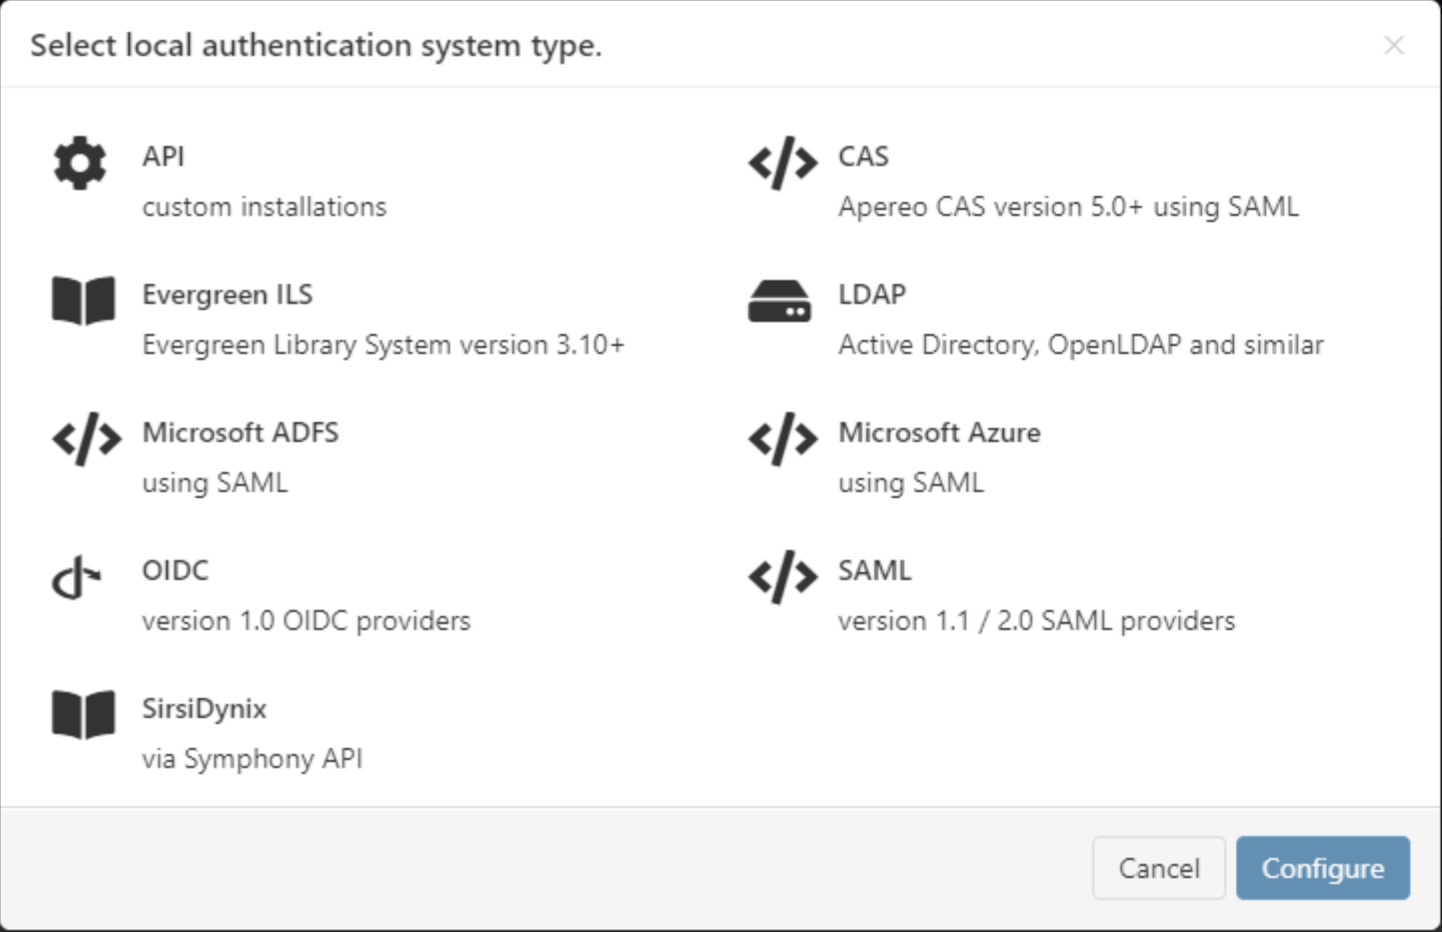
Click the add button on the left and select Evergreen ILS

Enter a name for the connection. You can edit this later.
Enter a callback URL. Assuming defaults, this will be along the lines of https://<HOSTNAME>/eg/opac/sso/openathens where <HOSTNAME> is the public hostname of your Evergreen installation. You may need to modify the path to suit your instance.
Save changes
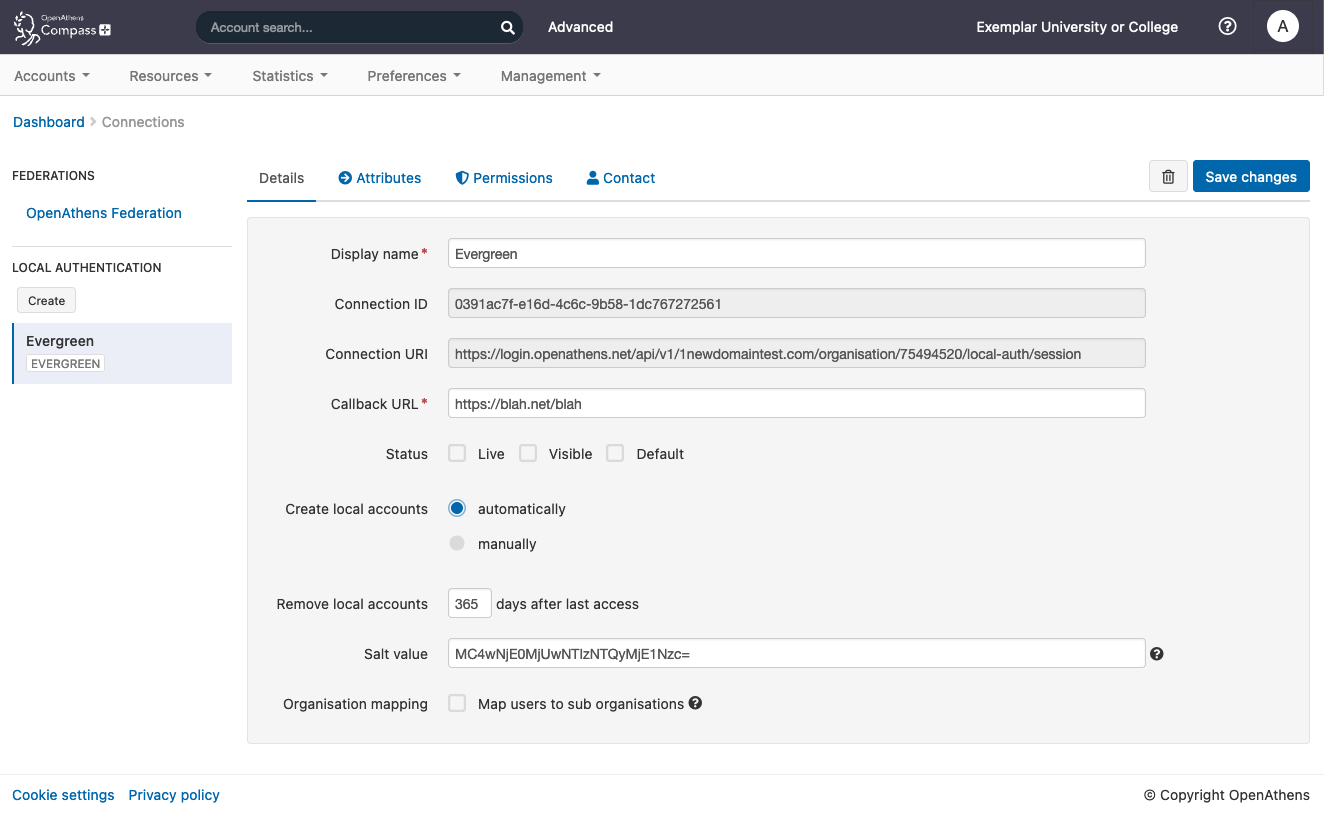
You should now see something similar to this:

The detail fields displayed are
Field | Explanation |
|---|---|
Display name | The name of the connection as it will appear at our authentication point when there is a choice of connector. |
Description | The description of the connection as it will appear at our authentication point when there is a choice of connector |
Connection ID | The connection ID that needs to be specified in the API call payload. Pass this to your IT colleague before they begin their implementation. |
Connection URI | The domain specific URI where the API will be expecting the POST. Pass this to your IT colleague before they begin their implementation. |
Callback URL | An address in your site or application that users will be sent to for authentication (see: Implementing the API connector in your code) |
Status | Not live = connection can only be used in debug mode. The visibility and default flags are ignored. Live and visible (if this is the only local connection) = connection can only be used in debug mode. Live and visible (if there are multiple live and visible connections) = users are offered a choice of connections, including this one. There is a domain preference to include OpenAthens accounts or not. Live & visible & default = This is your only login option and users will be sent directly to your login whenever the organisation is known. A successful authentication will tell the authentication point to remember that location. A failed authentication will clear that setting. Debug mode will not show other login options. Changes to the status usually take effect within a few minutes. |
Create local accounts | Automatically - any user authenticated by your system and passed back to us is deemed ok and will be accepted by the system Manually - only user IDs you have previously uploaded via the list page will be accepted by our systems. Unlisted users will be denied access and you will see organisation mapping errors in the reports interface. |
Remove local accounts | This setting controls when local account data will be automatically cleared from the system and is the number of days from the last time the account last signed in. Pre-mapped accounts that have not been seen are also cleared. The setting can be from 1 to 365 days and represents the number of complete days that have passed since the date the account last signed in. i.e. does not include the day of the last sign-in in the count. See also: How to modify a local account. |
Salt value | The salt used to generate a targetedID for users authenticated by this connection. You might edit it if you were upgrading from something like Shibboleth so that your users can have the same targetedID value when they change systems. If you set it to blank the connection will use the same salt as your OpenAthens accounts. Modifying this after you go live will change the identifiers seen by service providers for your users... which is rarely desirable. |
DO: make a note of the Connection ID and Connection URI. You will need these to configure the Evergreen end along with the API key you generated in the prerequisites section.
Configure Evergreen
(This section has been taken from Evergreen documentation: https://docs.evergreen-ils.org/eg/docs/latest/local_admin/openathens.html)
OpenAthens sign-on is configured in the staff client under Local Administration → OpenAthens Sign-on. To make a connection, select New Sign-on to OpenAthens, and set the values as follows:
Owner - the organisation within your library hierarchy that owns the connection to OpenAthens. If your whole consortium has signed up to OpenAthens as a single customer, then you would select the top-level. If only one regional library system or branch is the OpenAthens customer, select that. Whichever organisation you select, the OpenAthens connection will take effect for all libraries below it in your organisational hierarchy. A single OpenAthens sign-on configuration normally equates to a single domain in the OpenAthens service. If in doubt refer to your OpenAthens account manager or implementation partner.
Active - Enable this connection (enabled by default). Evergreen does not support more than one active connection to OpenAthens at a time per organisation. If more than one connection is added per organisation, Evergreen will use only the first connection that has Active enabled.
API key - the 36-character OpenAthens API key.
Connection ID - the numerical Connection ID you noted earlier .
Connection URI - the Connection URI that you noted earlier.
Auto sign-on - controls when patrons are signed on to OpenAthens:
enabled (recommended) - As soon as a patron logs in to Evergreen, they are signed in to OpenAthens. This happens via a quick redirect that the user should not notice.
disabled - The patron is not signed in to OpenAthens to start with. When they first access an OpenAthens-protected resource, they will need to search for your institution at the OpenAthens log-in page and choose your Evergreen portal as the sign-in method (they will see the name you entered as the Display name in step 1 above). Evergreen will then prompt for log-in if they have not already logged in. After that, they are signed in to OpenAthens and OpenAthens redirects them to the resource.
Auto sign-out - controls whether the patron is signed out of OpenAthens when they log out of Evergreen. If enabled the patron will be sent to the OpenAthens sign-out page when they log out of Evergreen. You can optionally configure the OpenAthens service to send them back to your home page again after this; the setting can be found at https://admin.openathens.net/ under Preferences → Domain → After sign out.
Unique identifier field - controls which attribute of patron accounts is used as the unique identifier in OpenAthens. The supported values are id and usrname, but you should leave this set to the default value of id unless you have a reason to do otherwise. It is important that this attribute does not change during the lifetime of a patron account, otherwise they would lose any personalised settings they have saved on third party resources. It is also important that you do not re-use old patron accounts for new users, otherwise a new user could see personalised settings saved by an old user.
Display name field - controls which attribute of patron accounts is displayed in the OpenAthens portal at https://admin.openathens.net/. (This is where you can see which accounts have been used, and what use patrons are making of third party resources.) The supported values are id, usrname and fullname. Whichever you choose, OpenAthens will only use it within your portal view; it won’t be released to third-party resources.
Release X - one setting for each of the attributes that it is possible to release to OpenAthens. Depending on your user privacy policy, you can configure any of these attributes to be released to OpenAthens as part of the sign-on process. None are enabled by default. OpenAthens in turn doesn’t store or release any of these attributes to third party resources, unless you configure that separately in the OpenAthens portal. You have to configure this in two stages. Firstly, mapping Evergreen attributes to OpenAthens attributes, and secondly releasing OpenAthens attributes to third party resources. You will need to know the exact names of the attributes that are released. These are listed in the following table:
Setting | Attribute released | Description |
Release prefix | prefix | the patron’s prefix, overridden by the preferred prefix if that is set |
Release first name | first_given_name | the patron’s first name, overridden by the preferred first name if that is set |
Release middle name | second_given_name | the patron’s middle name, overridden by the preferred middle name if that is set |
Release surname | family_name | the patron’s last name, overridden by the preferred last name if that is set |
Release suffix | suffix | the patron’s suffix, overridden by the preferred suffix if that is set |
Release email | the patron’s email address | |
Release home library | home_ou | the shortcode of the patron’s home library (e.g. BR1 in the Concerto sample data set) |
Release barcode | barcode | the patron’s barcode |
Click Save to finish creating the connection. (If you can’t see the connection you just created for a branch library, enable the "+ Descendants" option.)
Network access - server
As part of the sign-on process, Evergreen makes a connection to the OpenAthens service to transfer details of the user that is signing on. This data does not go via the user’s browser, to avoid revealing the private API key and to avoid the risk of spoofing. You need to open up port 443 outbound in your firewall, from your Evergreen server to http://login.openathens.net .
Network access - web client
If you restrict internet access for your web client machines, you need to open up port 443 outbound in your firewall, from your web clients to the following three domains:
Admin permissions
To delegate OpenAthens configuration to other staff users, assign the ADMIN_OPENATHENS permission.
Back in OpenAthens: configure mappings and permission sets
The final two areas to configure are permission set rules and attribute mappings:
Permission set rules so that your users as assigned an appropriate set of resources
Attribute mappings so that OpenAthens can make use of data passed it by your source
OpenAthens will cache these attributes when the user signs in, so changes at your end won't be picked up until the next time the user starts an OpenAthens session.
Both of these functions can only look at data in the attributes array you pass.
When you're ready to go live, check both the live and visible boxes and then save. Your new connection should be available a few seconds later.
How to test
Discovery is not available until you set the connection as live and visible so that users do not get offered options that are not ready to be used. To test your connection you will need to use debug mode to make the connection selectable by you.
Once you have tested and are happy, you can set the connection as live, visible and optionally default then save. This will make it live for your users within a few seconds.
Multiple connectors and OpenAthens accounts
This type of connector is best used as the default connection. In this mode when a user arrives at our authentication point with your organisation known, such as would happen if they select it at at a resource's login, use a WAYFless URL, the Redirector or have previously authenticated successfully, they are passed directly to your login without seeing our authentication point.
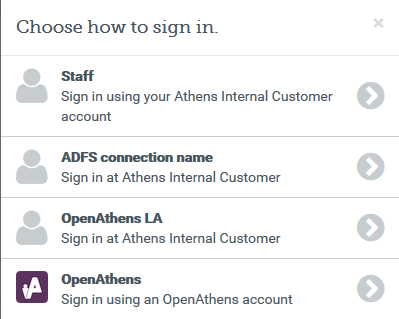
If you have a need to use multiple connections, or OpenAthens accounts alongside local accounts - e.g. if you have a group of users that are not in your directory - then you can set the connection as live and visible but not default and set it to allow OpenAthens accounts via the setting on the domain preference page. In this mode when the user arrives at the authentication point with your organisation known, they will initially see a chooser where they can select the connection to use - all live and visible local connections will be available as well as an option to use OpenAthens accounts. The authentication point will remember their choice.

Multi-valued attributes
With multi-valued attributes - e.g. the memberOf field in ADFS - the interface is not able to display all values and only display one. All values are read and cached though so are available for things like permission set rules and attribute release.
Anything to watch out for?
If you are planning to pre-upload user identifiers, you will need to have at least one local account visible in the list to access the upload button. Do not delete all your test logins until at least some of your pre-mappings are uploaded.
