Add - Personal account
Path to function: Accounts > Add > Personal account
Account creation runs over a four-tab wizard. Default values for some of these fields can be set under account preferences e.g. default activation method and code / account expiry.
If you have a lot of accounts to create, the bulk upload function may be of interest.
Login
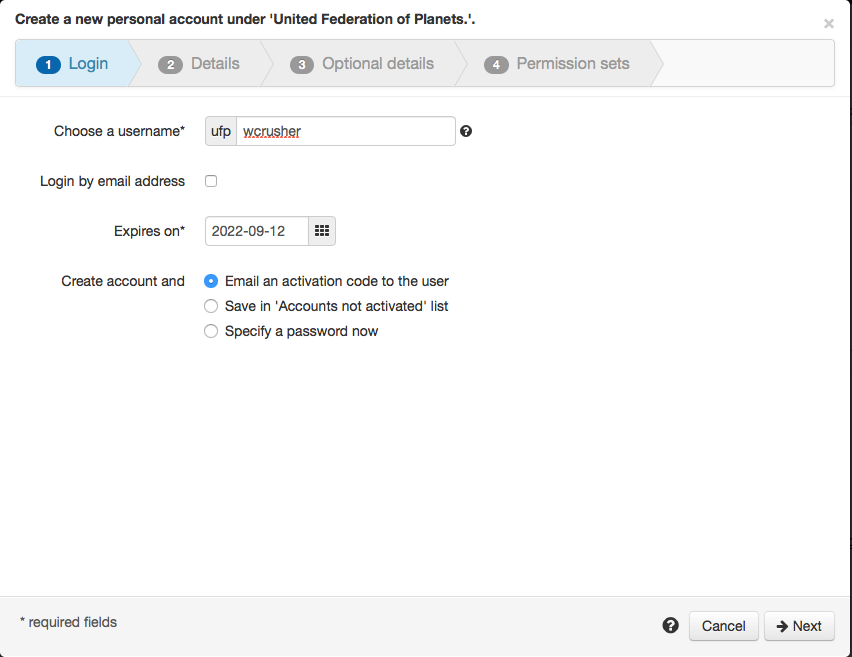
First you set the username and whether they can log in via email address, then whether you want to email the user an activation code (recommended) or specify a password for them (e.g. if you are creating a test account for yourself).

Usernames must be unique. They include the prefix in the grey box - e.g. ufpwcrusher.
Activation codes are valid for the period set under account preferences.
Details
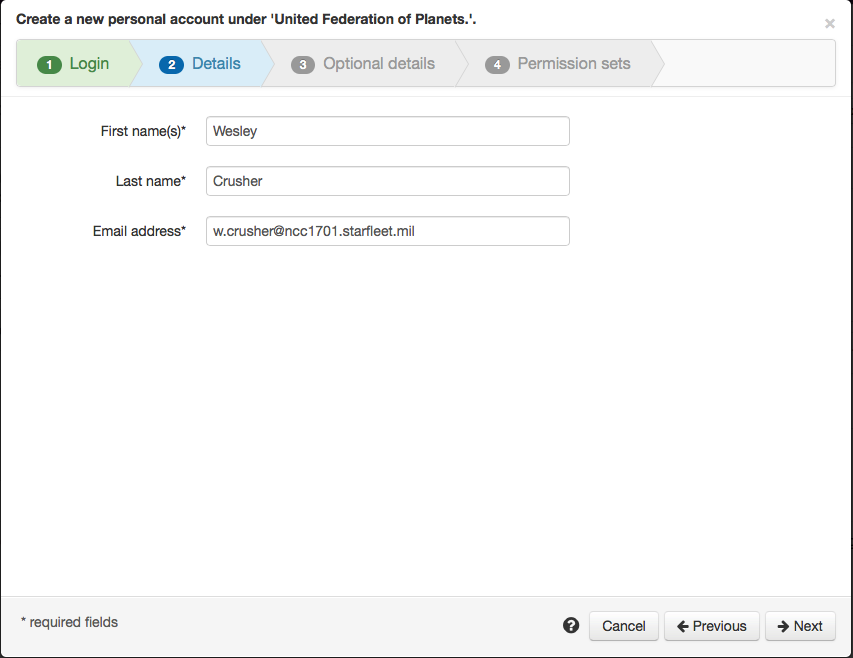
Enter the user's details - all the fields on this tab must be completed. Depending on your schema you may see more mandatory fields here than first name(s), last name and email address. Checkbox fields will appear here if they are marked as mandatory, but they do not have to be ticked (because off is a valid setting).

If you get a warning that the email address is in use then you can use search to find it (if you don't immediately see it in the results, check the deleted tab)
Optional details
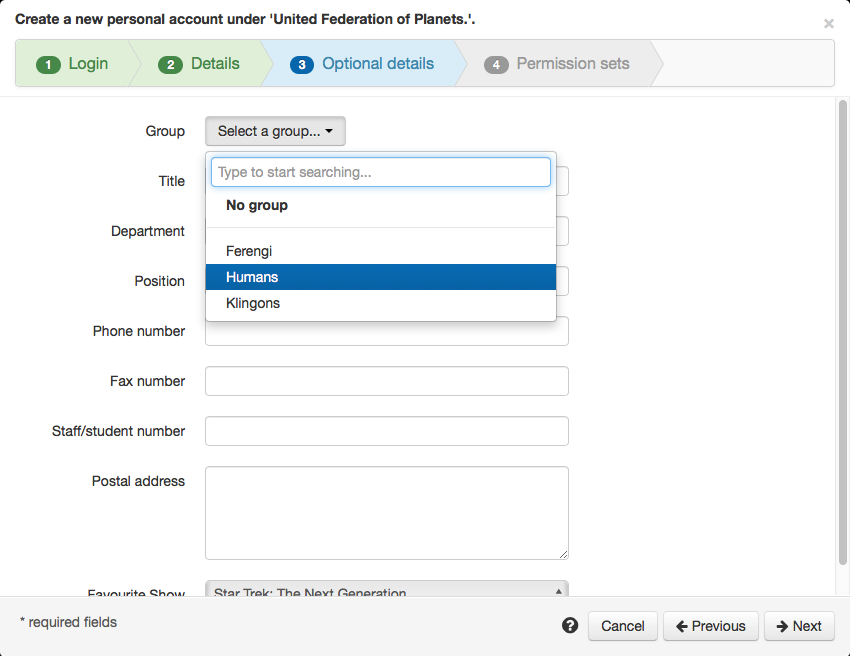
These include non-mandatory fields. By default these are items such as group, title, phone number and department but your view may be different if you have custom schema fields.

Featured in this image is the group selector. If you have many groups, the search will reduce the list as you type. You can also create a new group if what you enter is not already in the list.
Permissions
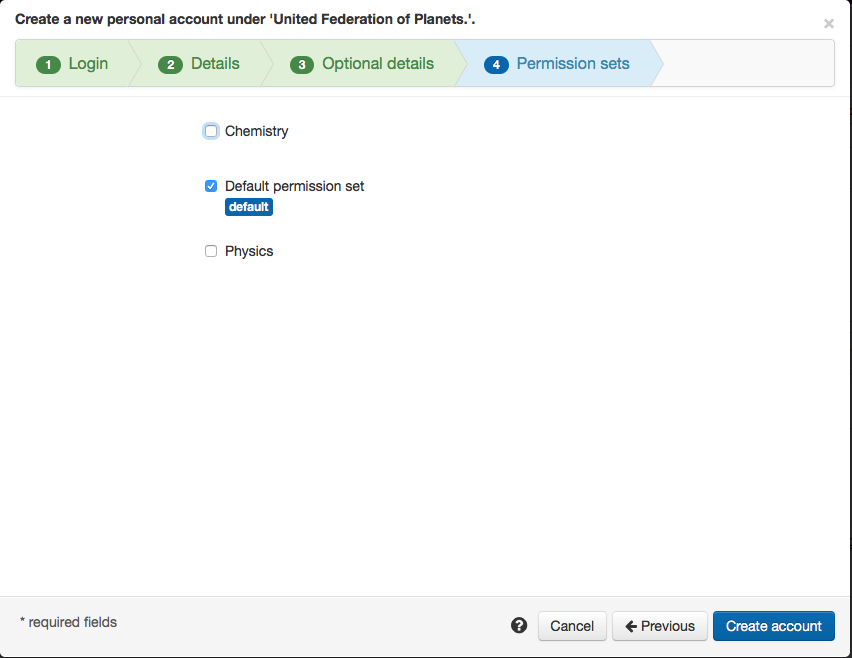
Which permission sets should be assigned to the account. Default permission sets are already selected. Clicking on the permission set description will open that permission set.

Create
Once you have completed all pages you can click the button to create the account. Assuming you left the activation option unchanged, the user will now be sent an email with instructions using your template.
