You can modify existing personal accounts as a batch through file upload. These are the basic steps:
-
Download users' data as a file
-
Edit the file as required
-
Save the file in CSV format
-
Re-upload the file to the admin area
You can also modify a batch of accounts through the Actions menu in the list of accounts. This might be easier if you need to change only a small number of accounts.
Download users' data as a file
-
Go to Accounts > List > Personal. Find user accounts in the list or search for the accounts you want to modify. You can modify only personal accounts through bulk upload, not other types of account.
-
Tick all users whose data you want to download.
-
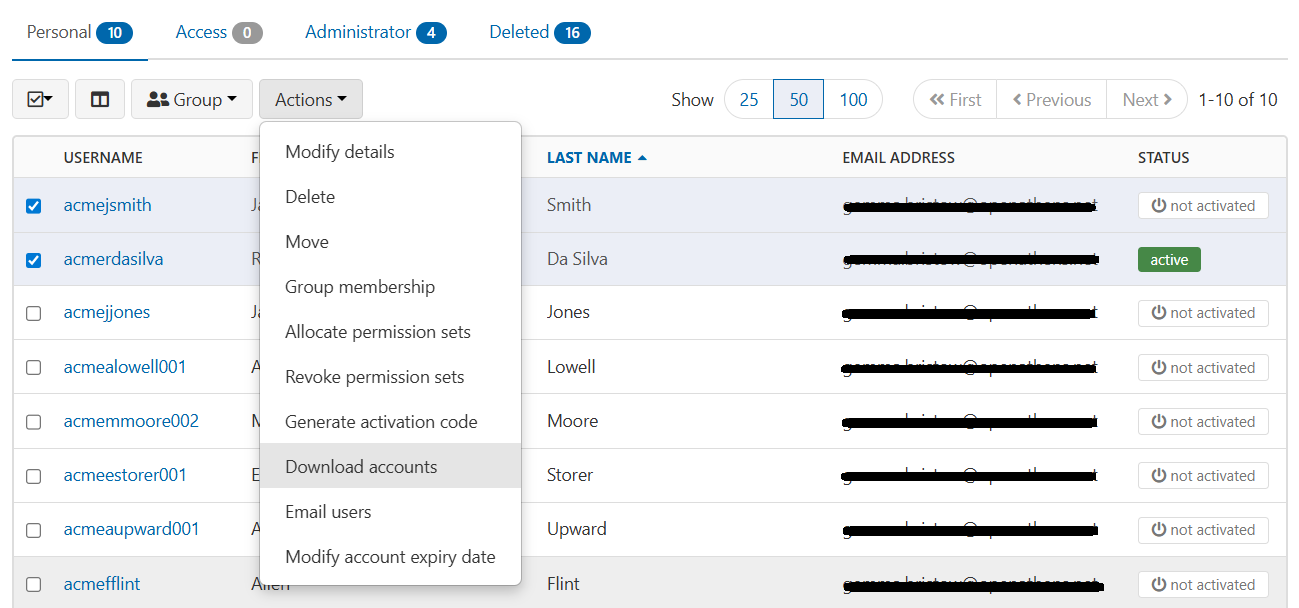
From the Actions menu, select Download accounts.
-
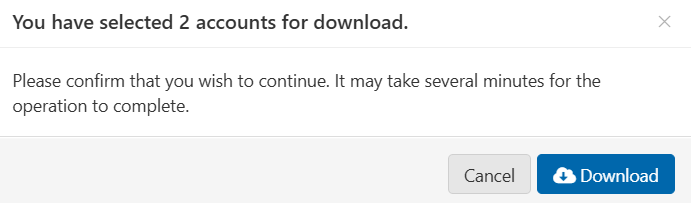
You are asked to confirm this action. Press Download to continue.
-
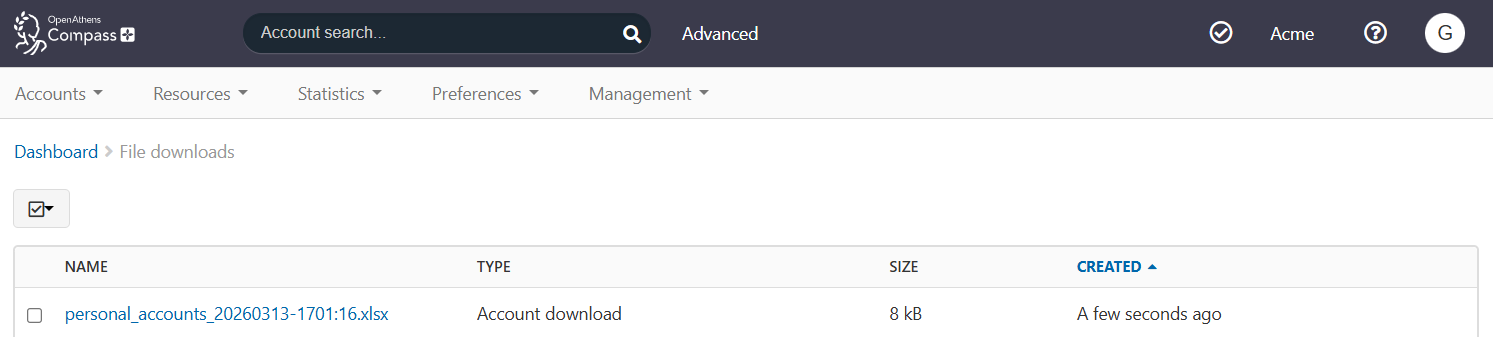
Go to Management > Downloads. You will find your file of account data listed under the type ‘Account download’.
-
Click the name of the file. It downloads automatically in your browser.
-
Save the file to your computer.
Edit the file
The downloaded file is in .xlsx format. You can edit it in a spreadsheet program such as Microsoft Excel or LibreOffice Calc.
The file is similar to the template for creating new accounts, but includes some automatically generated data fields (such as the UID of a user) that the template does not have.
Unlike the template, the download file doesn’t include descriptions of each data column. See Create personal accounts in bulk for more information about the standard columns. If your organisation has custom user attributes, also download a bulk template and check the guidance provided.
Standard data columns
Not all of these columns may contain data.
-
organisationId: OpenAthens ID of the organisation to which the user belongs. If you change this, the new organisation must be one that is under your control. When changing a user’s organisation, you cannot assign the user to groups or to specific permission sets at the same time.
-
organisationName: Name of the organisation.
-
username: The user’s login username. When modifying accounts, this column must be present in the file and must contain a value.
-
groups: Groups to which the user belongs.
-
expiry: Date on which the user’s account is scheduled to expire.
-
status: Status of the account, for example active or expired.
-
permissionSets: Permission sets assigned to the user. Submitting this field blank will remove any existing permission sets.
-
allowEmailLogin?: Whether or not the user is permitted to log in using their email address instead of their username. When modifying accounts, you must include a value in this field.
-
activationCode: Automatically generated code with which the user can activate their account, if they have not already activated.
-
persistentUID: Internal, universal identifier for the user.
-
uniqueId: Internal, unique scoped identifier for the user.
-
attribute/title: Title of the user.
-
attribute/forenames: First name or names of the user.
-
attribute/surname: Surname of the user.
-
attribute/department: Department to which the user belongs.
-
attribute/position: Position of the user within their institution.
-
attribute/emailAddress. Email address of the user.
-
attribute/phone: Phone number of the user.
-
attribute/identifier. Institutional identifier for the user, such as a student number.
-
attribute/postalAddress. Postal address of the user.
-
attribute/notes. Notes about the user, stored in the Notes tab of the user’s profile in the admin area.
Modify the data
-
If you don’t need to edit the data in a column, you can delete that column (except username, which is required). This helps to prevent accidental changes and speeds up processing of the file. Data in columns that are excluded from the upload remains unchanged.
-
Make your changes in the remaining columns.
If you make a field blank, in most cases it will keep its original value. For example, if you delete a user’s email address from attributes/emailAddress, the user’s email address will remain unchanged when you upload the file. There are two exceptions:
-
If you submit the permissionSets field empty, then following upload the user will have no permission sets assigned. Any permission sets they had previously will be removed. This enables you to remove existing permission sets from the user. See also About permission sets in bulk uploads.
-
allowEmailLogin? must contain a value of either TRUE or FALSE. If you submit this field empty, you will get an error message and the user’s details will not be processed.
If you change users' organisationId, you might want to give them default permissions in their new organisation. To do this, you need to add a column for useDefaultPermissionSets? (not included in the download file) and set it to either TRUE or FALSE as required. See Create personal accounts in bulk for details of this column.
Save the file as CSV
The upload file must be in .csv format. The downloaded file is .xlsx. Once you have reviewed the data, convert the file.
-
In your spreadsheet program, select Save as and choose to save the file as .csv.
-
Since .csv files do not support multiple sheets, you may be asked to save ‘only the active sheet’. Agree.
Upload the file
-
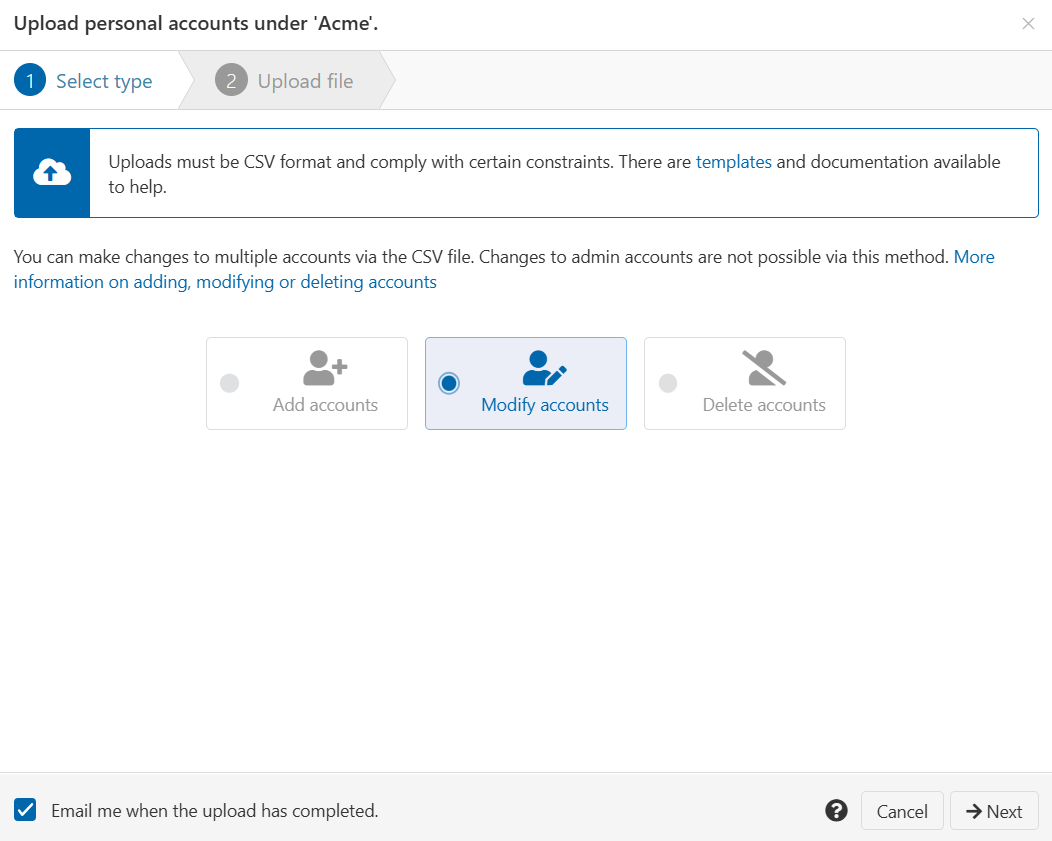
From the main menu, select Accounts > Bulk upload > Submit. A pop-up window opens, showing the file upload interface.
-
Select Modify accounts.
-
Press Next.
-
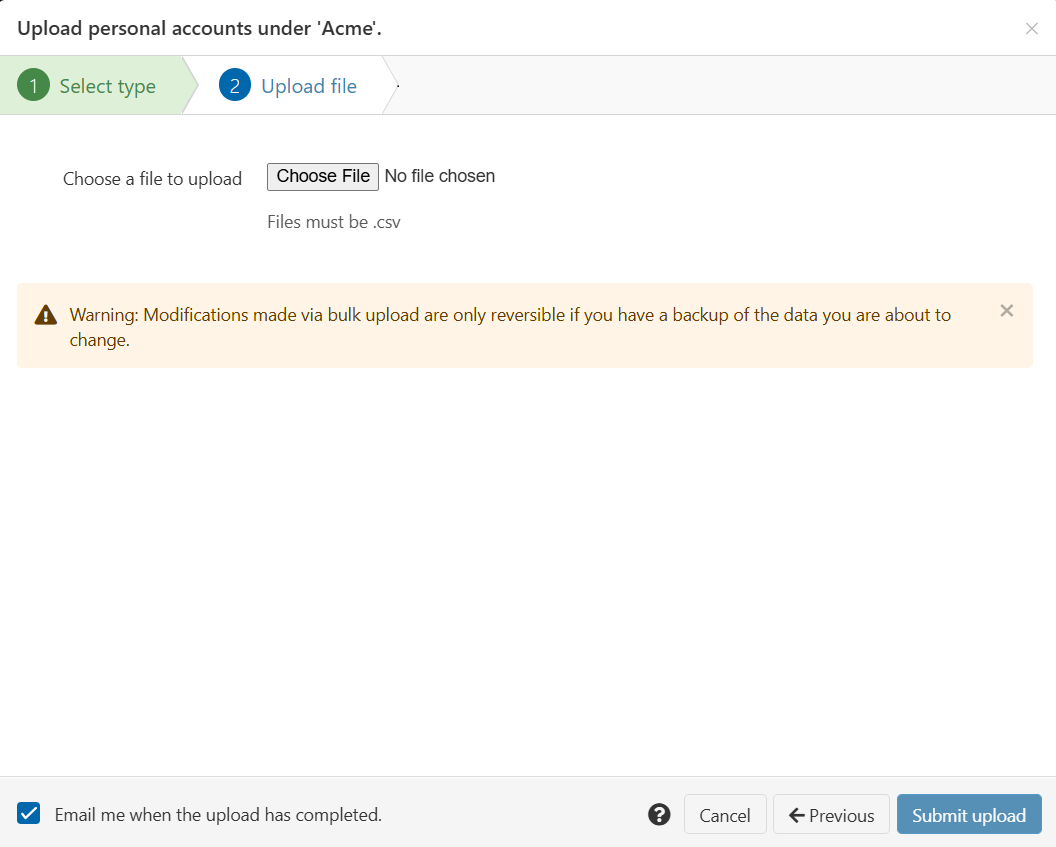
Press Choose File and select the .csv file from your computer.
-
Press the Submit upload button.
-
If the upload is successful, you receive an initial confirmation message, followed by another confirmation message when OpenAthens has finished modifying the accounts. (The time this takes depends on the size of the file.)

-
If upload fails, you receive an error message. Edit the incorrect part of the file, save, and upload again. See Troubleshooting. (The upload interface remains open at the same place, so you do not need to go through steps 1-3 again.)
-
If the file uploads but there are problems with one or more users' data, you receive an initial message confirming the upload, followed by a message warning you that not all user accounts have been modified.
To help you fix accounts that failed, OpenAthens automatically generates a file of the failed user data. You can download this file, edit incorrect fields, and perform another upload of those details. See Troubleshooting for details.
Troubleshooting
If there is an issue with your uploaded file, you get an error message. Most error messages are the same as those you receive when creating accounts. A few are less specific.
The following issues cause the entire upload to fail:
-
Deleting the username column from the file
-
Submitting a username field empty
-
Submitting the expiry date in an incorrect format. The date must be in the format YYYY-MM-DD. Be aware that spreadsheet software can reformat dates automatically. You may need to format the expiry column as plain text rather than as a date
-
Submitting something non-standard in the status field. The status must be one of: pending, active, reactivate, deleted, banned, suspended, disabled, never_used
-
Trying to change the status of an account in a way that isn’t permitted, for example from deleted to pending
The following issues cause modification of one or more users to fail:
-
Submitting an incorrect ID in the organisationId column. The ID must be that of an organisation you control
-
Submitting a username that was not recognised
-
Entering a group that was not recognised
-
Entering a permission set that was not recognised
-
Submitting the allowEmailLogin? field without a value. This field must be set to TRUE or FALSE
-
Submitting something non-standard in the allowEmailLogin? field. This field must be set to TRUE or FALSE
-
Entering an invalid email address in attributes/emailAddress
Download and edit failed user data
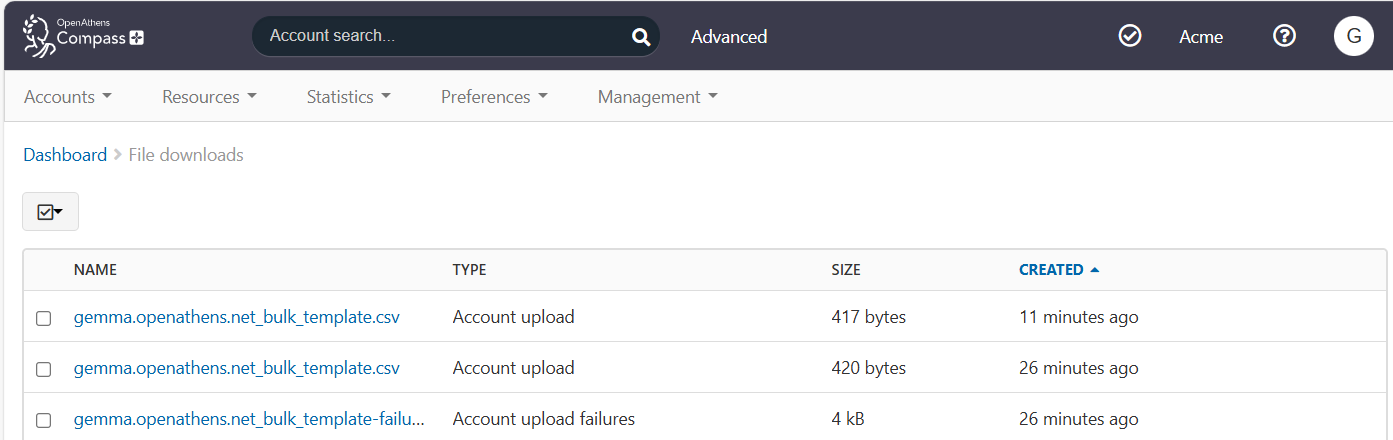
If some accounts in the upload fail to be modified, OpenAthens generates a version of the file that contains only the failed user data. You can find this file in Management > Downloads. It has the type ‘Account upload failures’ and is identified by date and time.
To revise and resubmit failed users:
-
Click on the name of the relevant file. The file downloads automatically in your browser.
-
Fix any incorrect data (see Troubleshooting for details).
-
Save the file as .csv under a new name.
-
Upload the file.